Ever snap a great photo on your phone, then wish you could edit it on a bigger screen? Or you need to back up videos fast, before storage fills up? The struggle is real when your phone and computer act like they speak different languages.
In 2026, transfer files between phone and computer is easier than it used to be. You can use a super-fast USB cable, simple wireless tools on the same Wi-Fi, cloud sync for access anywhere, or handy apps when you want one-tap sharing.
Below are practical, step-by-step guides for Android, iPhone, Windows, and Mac. You’ll also get quick fixes for common problems, like “device not recognized.”
Set Up Your Phone and Computer for Smooth Transfers
Before you move a single file, set up both devices so they actually “see” each other. Most transfer headaches come from small settings, mismatched modes, or outdated software.
Start with these basics:
- Check your cables and ports (especially for USB). Try a different USB port first.
- Update your OS. Windows 11 users should be on a recent build like 26H1. For phones, use the latest version you can.
- Use the right phone mode for USB. You usually want File Transfer (MTP), not charging-only.
- Android (optional but helpful): on many phones, you can enable USB debugging if your computer won’t detect the device.
- iPhone: unlock your phone, then tap Trust when prompted on the computer.
- Wireless transfers need the same Wi-Fi. Use the same network for fastest results.
If you see “device not recognized,” don’t panic. Work through this order:
- Unplug and replug the cable.
- Restart both devices (yes, it fixes surprisingly many issues).
- Try another USB cable (some cables only charge).
- Switch USB port (front ports can be flaky).
- Restart the transfer after changing settings.
For Android users, it also helps to know the official options for moving files with a Google Account or a USB cable. Google’s guide is a good baseline: Transfer files between your computer & Android device.
When everything is ready, the methods below feel almost effortless. Next up, the fastest option: USB.
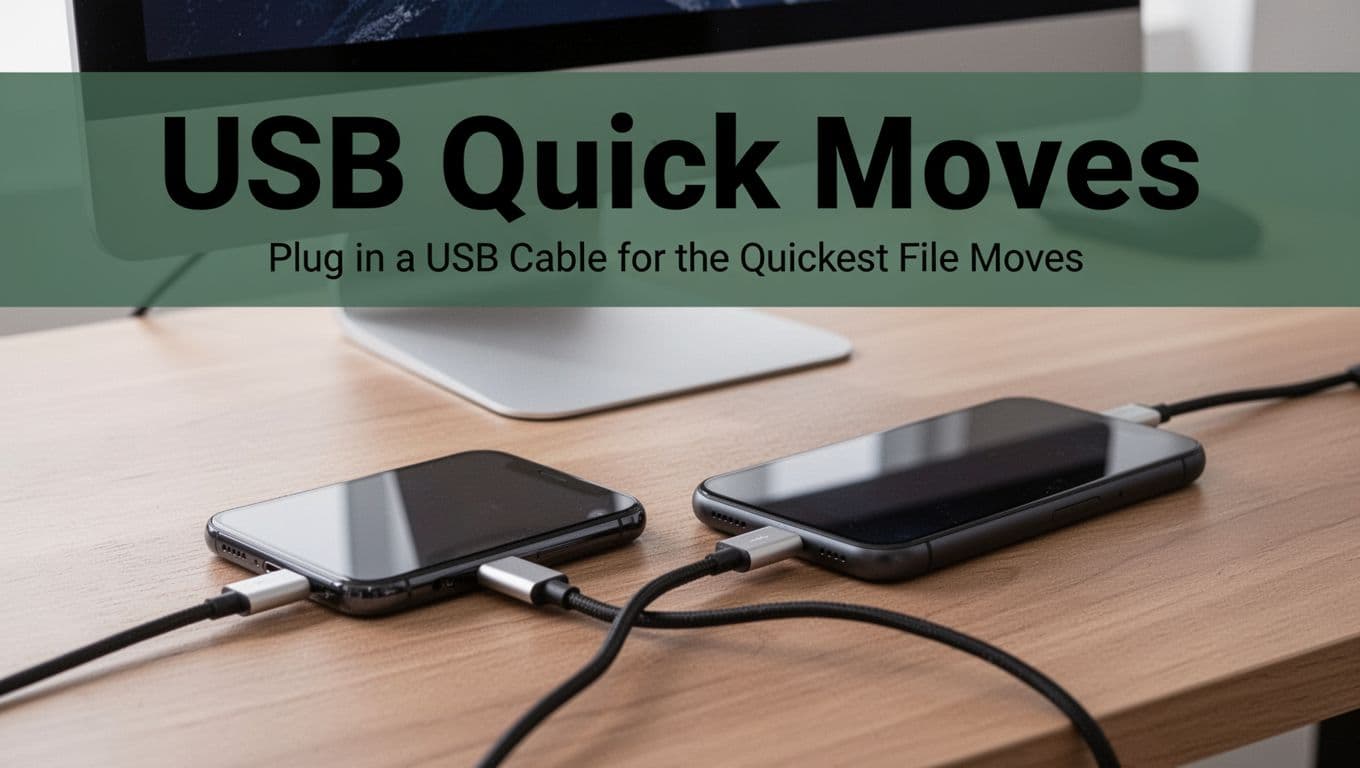
Plug in a USB Cable for the Quickest File Moves
USB is the “get it done” option. It’s great for large videos, big photo libraries, and any time you don’t want to rely on Wi-Fi speed.
In 2026, you’ll mostly be dealing with standard USB data transfer. A cable that supports data matters more than anything. If your cable is charging-only, you’ll think you’re connected when you’re not.
Here’s what makes USB great:
- Pros: very fast for large files, no internet needed, fewer moving parts.
- Cons: you need a cable, and you still might pick the wrong transfer mode once.
If your goal is “copy files like drag-and-drop,” USB usually wins.
Android to Windows or PC
On most Android phones, USB file transfer uses MTP (Media Transfer Protocol). That’s why you’ll see the phone as a storage device in File Explorer.
- Connect your Android phone to your Windows PC with a data-capable USB cable.
- On your phone, swipe the notification shade and tap File Transfer (or MTP).
- Unlock your phone if it asks.
- Open File Explorer on Windows.
- Look for your phone under This PC.
- Open DCIM for photos and videos.
- Copy or drag files to your computer folders.
A quick tip: photos often live in DCIM, while downloads and documents may show under different folders depending on your phone. If you’re moving lots of photos, start with a smaller test batch first.
If Windows still won’t show your phone, don’t assume the cable is fine. This walkthrough can help you narrow down the common fixes for Android to Windows photo transfers: How to transfer photos from Android to a Windows PC.
iPhone to Mac or PC
iPhone transfers feel slightly different because Apple uses its own data paths. The good news is that Finder on Mac makes it straightforward for many workflows.
On Mac (Finder):
- Connect your iPhone to your Mac via USB.
- Unlock your iPhone.
- If a prompt appears, tap Trust.
- Open Finder and select your iPhone in the sidebar.
- Use the available file sharing areas (apps that support sharing will show up here).
On Windows (with built-in options): Windows file access to iPhone content can be limited. In many cases, you’ll use Apple’s iTunes approach or a compatible Windows workflow. If you want a clear, step-by-step map of common methods, see: How To Transfer Files From iPhone To Mac.
Also remember: iPhone photos don’t always expose as a simple folder like Android. So the “DCIM drag-drop” method may not work the same way.
If you’d rather avoid cables completely, wireless options are ready. Let’s move on.
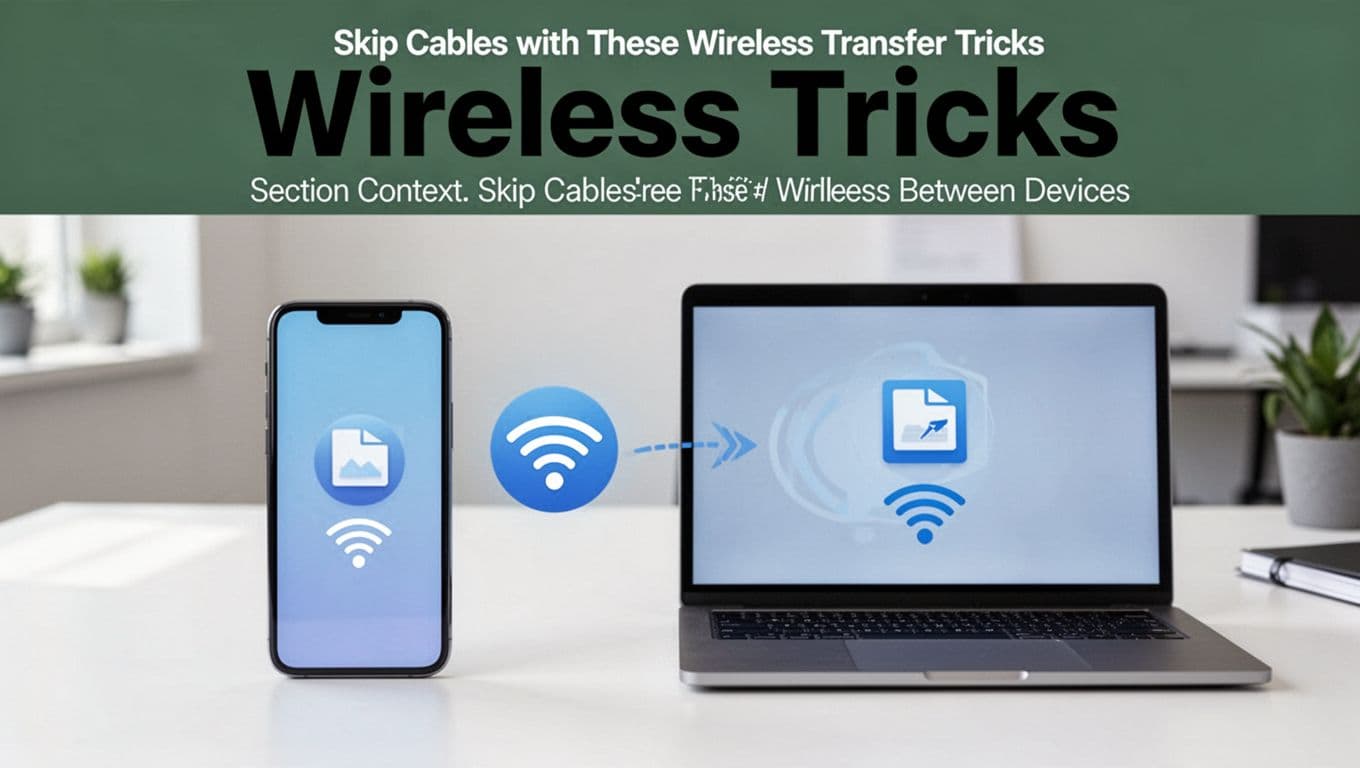
Skip Cables with These Wireless Transfer Tricks
Wireless transfers are the “grab-and-go” choice. They’re perfect for quick photo sets, documents, and smaller video clips.
There’s a catch, though. Wireless tends to be slower than USB for huge batches. Also, most tools expect both devices to be on the same Wi-Fi network, at least for best speed.
Phone Link for Android and Windows 11
If you use Windows 11 daily, Phone Link is built for you. It’s not only for messages. You can also view recent photos and move content, depending on device support.
- Open the Phone Link experience on your Windows PC.
- Install or open the Phone Link app on your Android phone.
- Link the devices by QR code (or the prompted sign-in flow).
- Follow prompts to grant access for photos and notifications.
- Use the phone-to-PC options to send files and pull content you want on the computer.
Start with Microsoft’s setup requirements so you don’t chase ghost problems: Phone Link requirements and setup.
Phone Link is great for daily stuff, not huge storage migrations. Still, it can save you time when you’re transferring the same types of files every week.
Quick Share, Nearby Share, or AirDrop for Instant Sends
Google and Apple have their own “send it now” tools.
- Android to Windows/Android: Quick Share or Nearby Share (depending on your device).
- iPhone to Mac: AirDrop is the go-to.
General idea for all three:
- Turn on sharing on both devices.
- Select the file(s) on the phone.
- Pick the computer or device name.
- Accept the transfer on the receiving device.
These tools often feel almost instant because they use local connections, not slow file uploads to the internet.
One limitation to note: cross-brand sharing can be less consistent. Android-to-iPhone is usually possible, but you may need a universal method like Snapdrop (next section) or a third-party app.
Snapdrop for Any Device on Local Wi-Fi
When you want a simple “works in a browser” transfer, Snapdrop is a popular choice. It aims to copy files between phones and computers on the same Wi-Fi without extra setup.
How it works:
- Open snapdrop.net on both devices.
- Wait for the other device to show up.
- Drag a file into the receiving device panel (or use the on-screen flow).
This approach is nice for mixed households, like Android and iPhone together. If you want the tool itself, here’s the site: SnapDrop transfer tool.
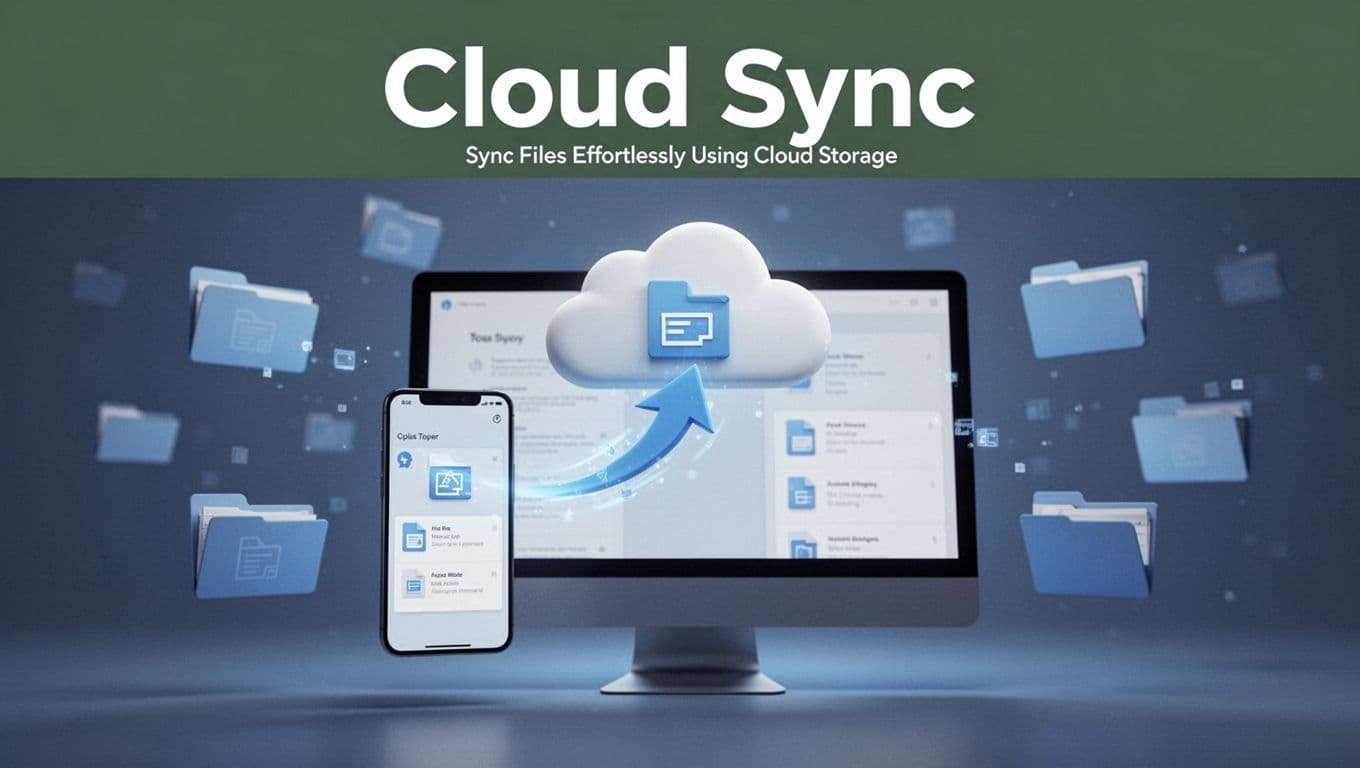
Sync Files Effortlessly Using Cloud Storage
Cloud storage is for one thing: access anywhere. It’s also for backups. If you want your computer to always have the newest copy, cloud sync is hard to beat.
However, cloud does come with trade-offs:
- Pros: access from multiple devices, easier sharing links, good for backups.
- Cons: you need internet, sync can take time on slower connections, free space is limited.
In short, USB is for speed today. Cloud is for peace of mind over time.
Google Drive or OneDrive for Everyday Use
For many people, Google Drive and OneDrive just fit. You upload from your phone, then you download or sync on your computer.
Google Drive basics:
- Install the Google Drive app on your Android phone.
- Upload photos or videos to a folder in Drive.
- Open Drive on your computer (browser or Drive sync app).
- Download to your computer or keep files synced.
OneDrive basics:
- Install the OneDrive app on your phone.
- Upload to OneDrive folders.
- Access it on your Windows PC using the OneDrive sync experience.
If you’re choosing between services, a comparison guide can help you compare free tiers and pricing models across Google Drive, iCloud, OneDrive, and others: Best cloud storage 2026.
iCloud or Dropbox for Apple Fans
If you’re deep in Apple, iCloud can make photo transfers feel automatic. You enable photo sync, and your Mac gets updated copies. That’s convenient when you don’t want to think about moving files.
Dropbox is more universal. It works on iPhone, Android, Windows, and Mac. So it’s also a good bridge when you share with friends on different phones.
A practical way to use cloud without chaos:
- Pick one folder per purpose (like “Client,” “Photos,” or “Work Files”).
- Upload from your phone into that folder.
- Keep the computer download path consistent.
Grab Handy Apps for One-Tap Transfers
If you transfer files across different devices often, third-party apps can save time. Many work by creating a local Wi-Fi hotspot or using direct device-to-device transfer.
Common patterns you’ll see:
- Fast offline Wi-Fi transfer (phone hotspot, then sending)
- Cross-platform sending (Android to iPhone, to Windows, to Mac)
- Code-based pairing (type a code, or scan QR)
Popular choices people use in the US include apps like:
- ShareIt (often fast for offline transfers)
- Xender (similar hotspot-based setup)
- Send Anywhere (pair with a code)
- MobileTrans-style tools (for specific migration tasks)
Pick an app with a process you can repeat in under one minute. Also, check if the app asks for permissions you don’t understand. If you’re only moving photos, you don’t need every control prompt.
If you want a safe flow, do this:
- Install the app on both devices.
- Start a test transfer of one photo.
- Confirm quality (original vs compressed).
- Then move larger batches.
Once you’ve tried one app successfully, it’s easier to stick with it. That’s when transfers start feeling “normal” instead of stressful.
Which Method Fits Your Needs Best
Your best choice depends on file size, frequency, and how often you switch devices.
Here’s a quick comparison so you can pick faster.
| Method | Best for | Typical speed | Main catch |
|---|---|---|---|
| USB cable | Large videos, first-time moves | Fastest | Needs a data cable and correct transfer mode |
| Local wireless (Quick Share/AirDrop/Snapdrop) | Small to medium batches | Medium | Both devices must be reachable on the network |
| Phone Link (Android + Windows 11) | Daily use and quick sending | Medium-fast | Mostly focused on supported phone features |
| Cloud storage | Backups and access anywhere | Slower | Internet and storage limits |
A strong rule of thumb:
- Move big files now: use USB.
- Send today without setup: use wireless sending.
- Want copies everywhere: use cloud sync.
Security note, too. Local transfers (USB or Wi-Fi sharing) usually limit exposure. Cloud requires trust in your account, plus good password habits.
When you think about your own routine, which one feels most like your life: a cable you grab, a local send you tap, or a cloud folder you check?
Conclusion
Getting files off your phone and onto your computer doesn’t have to feel like a puzzle. For most people, USB gives the fastest, most reliable copies, especially for big videos.
When you want convenience, local wireless tools make sharing feel instant. And when you want backups and access across devices, cloud storage keeps your files available.
Try one method today with a small test file. Then you’ll know what works best for your setup in 2026, for you and your devices. What method are you using right now?