Waiting for a video to copy, a phone to sync, or a backup to finish can feel endless. If your transfers crawl, it wastes your time and ruins your focus, at home and at work. The annoying part? Slow speeds usually mean one weak link in the chain, not “bad luck.”
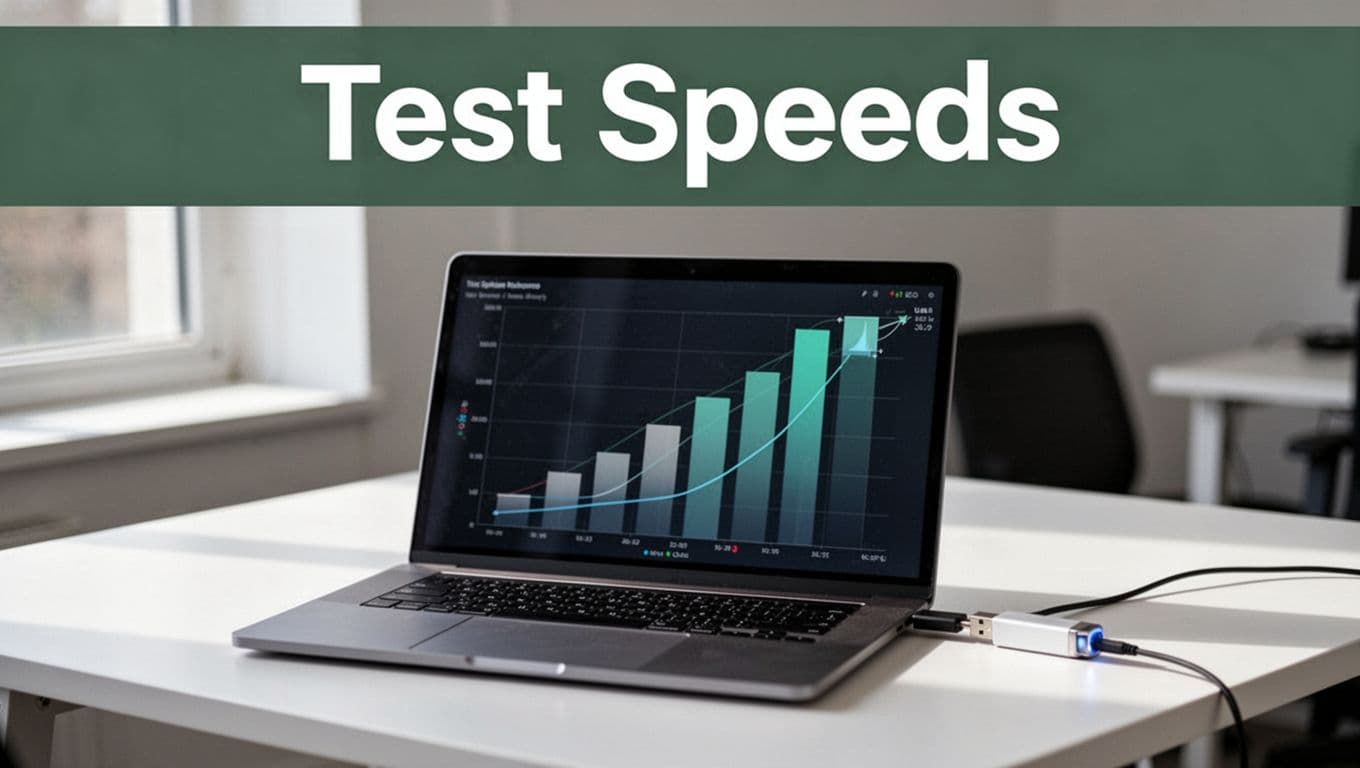
The good news is that you can fix most slow transfers with simple checks and a few targeted upgrades. This guide shows you how to diagnose the bottleneck first, then speed things up with USB tweaks, network boosts, storage upgrades, and smarter cloud settings. You’ll also learn a quick speed test approach so you can see what changed, not guess.
Let’s start by figuring out what’s actually slowing you down.
Quick Ways to Diagnose What’s Slowing Down Your Transfers
Before you buy anything, identify the bottleneck. Think of your transfer like a relay race. If one runner is slow, the whole team loses time.
Start by testing each link separately: the cable/port, the drive, the network path, and the cloud or server side. Then you’ll know where to focus.
Run short speed tests for each part of the chain
For USB drives, use a disk benchmark so you get repeatable numbers. CrystalDiskMark is a common choice, and this walkthrough can help you run a clean USB speed test on Windows: run a USB speed test on Windows.
For storage drives (especially SSDs and external enclosures), you can also use a tool like AS SSD Benchmark to compare your results to expectations. If you want extra troubleshooting ideas when speeds drop after the first files, see troubleshoot a slow USB drive.
For network transfers, test the connection to your router and any remote host. Speedtest.net helps for quick checks, but iPerf gives more control for LAN testing. If your transfers are slow only between two PCs on the same network, a LAN test is the fastest truth serum.
For cloud, test from the provider’s own tools when possible, because they can show throttling or regional limits.
Check the weakest link (and watch for patterns)
Here are common slowdown signs. Use them like clues, not guesses.
| What you notice | Likely cause | First thing to check |
|---|---|---|
| Speed drops after a few files | Buffering, sleep/power settings | Power plan and device sleep |
| Copying small files is painfully slow | Many file operations, not bandwidth | Zip files before transfer |
| Transfers are fine sometimes, bad other times | Wi-Fi congestion or interference | Test at different times |
| One device is slow, others are fast | Drive/port/cable mismatch | Swap cable and port |
| Speed matches Wi-Fi but not USB | You’re on the wrong path | Verify connection type |
Also, test with a different cable or port. If the speed jumps, you found the culprit. If nothing changes, move down the chain to drivers, storage limits, or network settings.
Stress test your setup, not just one file
Test the same drive with the same file set at least two times. Try one test during a quiet time, then again while other devices stream video. That simple comparison often reveals congestion fast.
If you’re taking screenshots, capture the tool results and the exact device path (for example, “SSD on USB 3 port” vs “SSD on USB hub”). Those details make troubleshooting easier later.
Next, once you know where the bottleneck is, you can speed it up. USB is usually the fastest place to start, because the fixes are simple and measurable.
Rev Up Your USB Transfers: From Crawl to Blitz
Most “slow USB transfers” come from three issues: a speed mismatch, a bad cable or port, or a power/driver hiccup. Once you fix those, transfers often jump right away.
Use the right USB naming (so you don’t buy the wrong thing)
USB labels can look like alphabet soup. A USB-C cable might still cap out at a lower speed, depending on what it supports internally.
If you want a clear way to map USB marketing names to actual capabilities, this guide helps: decoding USB standards.
Upgrade cable and port, then confirm the link type
Here’s the order that tends to work best:
- Swap the cable first. Use a certified short USB-C cable for the target speed.
- Plug directly into the PC or dock port. Avoid unpowered hubs.
- Use the correct port color/label. Many PCs mark high-speed ports in blue.
- Check Windows device settings. Then update drivers and reboot.
- Zip many small files. Fewer file operations usually means faster copying.
- Re-test with the same tool. You want a before and after.
USB4 v2 is a useful benchmark concept here. Real testing shows USB4 v2 can reach far higher throughput than older USB4. For example, one reported test hit about 5.4 GB/s (around 43 Gbps) with USB4 v2, while USB4 v1 was around 3.8 GB/s. Your real results depend on the SSD enclosure, controller, and system.
Also, watch out for mismatches. If your device or cable only supports USB 2.0, you cap out around 480 Mbps, which feels like a slow handshake even on a powerful PC.
Avoid USB hubs unless you know they’re fast enough
Unpowered hubs can throttle power. That can slow transfers, especially with bus-powered SSD enclosures.
If you need a hub:
- Choose one that explicitly supports the transfer speed you need.
- Prefer a powered hub for SSDs.
- If possible, connect the SSD directly for testing, then decide if the hub is worth keeping.
Handle “many small files” like a performance engineer
When you copy lots of small files, you’re not just limited by bandwidth. You’re also limited by the number of file operations. Windows and macOS spend time on metadata, directory scans, and per-file overhead.
That’s why zipping helps. Try compressing a folder into one archive, then copy the archive. After transfer, decompress on the target system.
Troubleshooting flowchart for USB slowdowns
Use this quick path when your speed feels stuck:
Slow transfer only on this USB drive
-> Swap cable
-> Try a different port (prefer direct)
-> If still slow, try another PC
-> Update USB host controller drivers
-> If the drive itself stays slow, replace the enclosure or drive
Slow transfer happens on all USB devices
-> Check power plan and USB selective suspend
-> Update chipset and USB drivers
-> Test another port and another device combo
That gets USB under control fast. Now let’s fix the network side, where Wi-Fi is often the hidden reason transfers crawl.
Supercharge WiFi and Ethernet for Lightning Network Speeds
Wi-Fi can deliver great speed, but transfers are sensitive to distance, walls, interference, and device load. Ethernet is boring in the best way: it’s stable.
Real-world numbers help set expectations. Wi-Fi 7 often lands around 2 to 5 Gbps in good setups, sometimes higher near the router. Ethernet in well-built home systems can deliver around 9 to 9.5 Gbps sustained over short runs, assuming your gear supports it.
Wi-Fi vs. Ethernet in practical home use
These are typical “what you actually see” ranges for fast home setups.
| Connection | Typical real-world transfer range | Best for |
|---|---|---|
| Wi-Fi 7 (good setup) | ~2 to 5 Gbps (250 to 625 MB/s) | Phones, laptops, rooms far from Ethernet |
| 10Gbps Ethernet | ~9 to 9.5 Gbps (1.1 to 1.2 GB/s) | NAS backups, PC to PC copies |
If you want lab-style context on Wi-Fi 7 performance, CNET’s router testing summaries are useful: Wi-Fi 7 lab results.
Ditch WiFi Weak Spots with These Smart Upgrades
Start with placement. If your router sits behind a TV stand or thick walls, your speed will drop no matter what brand is on the box.
Then use upgrades that reduce contention:
- Use a 6 GHz Wi-Fi 7 band when devices support it.
- Add a mesh system if coverage is uneven.
- Cut interference by moving the router away from microwaves and cordless phone bases.
- Limit background streaming on test devices (or test at off-peak times).
Also, reduce “device crowding.” If ten gadgets are doing updates, your transfer loses time. In other words, Wi-Fi speed is shared time.
Ethernet Mastery: Cables, Switches, and QoS Tricks
For Ethernet, the details matter:
- Use Cat6a (or better) for 10Gbps stability.
- Ensure your switch and NIC both support the same speed mode.
- Keep cable runs short if you can, especially inside walls or long drops.
Then add QoS if your router app supports it. QoS helps your network favor bulk transfers while streaming still works.
A simple QoS setup pattern:
- Turn on QoS or “traffic prioritization.”
- Give your PC or NAS higher priority during transfers.
- Confirm by re-running your speed test during the same network load.
If you want smoother transfers, Ethernet is the fastest route. Once your network is stable, storage speed becomes the next major limit.
Unlock Blazing Speeds from Your Hard Drives and SSDs
Even if your USB and network are fast, a slow drive still drags everything down. The most common storage upgrade is moving from HDDs to NVMe SSDs, especially on PCIe 5.0-capable systems.
PCIe 5.0 SSDs: why they can feel faster (even when copies vary)
PCIe 5.0 SSDs can reach very high sequential speeds. Real testing reports numbers like up to 14,000 MB/s reads and around 12,000 MB/s writes on compatible systems.
In daily use, you might feel the biggest improvements in:
- loading apps
- copying large files
- speeding up project workflows
However, real transfers also depend on drive controller behavior, enclosure thermals, and file type mix.
For real-world cost/value context from speed tests, see: NVMe Gen5 speed tests.
Handle small files differently than big files
Big files mainly test bandwidth. Small files test overhead. If you’re moving thousands of small images or documents:
- zip first
- or group files by folder before transfer
- or use a copy tool that reduces per-file overhead
If you want multiple-device speed, RAID can help, but it also adds complexity. For many home setups, fast single NVMe plus a solid 10GbE path is plenty.
External storage and NAS: the hidden bottleneck is often the whole chain
External SSDs are great, but the enclosure can limit speed. Before blaming your drive, check:
- your enclosure supports NVMe at the speed you need
- the USB bridge chip supports the advertised rate
- the SSD gets enough cooling (heat can cause drops)
For NAS systems, also watch the CPU and RAM. If the NAS struggles to process incoming chunks, the link can sit idle waiting.
Quick storage wins you can do today
- Replace HDDs with NVMe SSDs (even one drive upgrade helps).
- Use 10GbE for NAS transfers instead of Wi-Fi when you can.
- Keep your SSD firmware updated.
- Ensure good airflow in desktops and enclosures.
Now that storage and network are working, cloud transfers can still disappoint. Let’s fix the cloud side next.