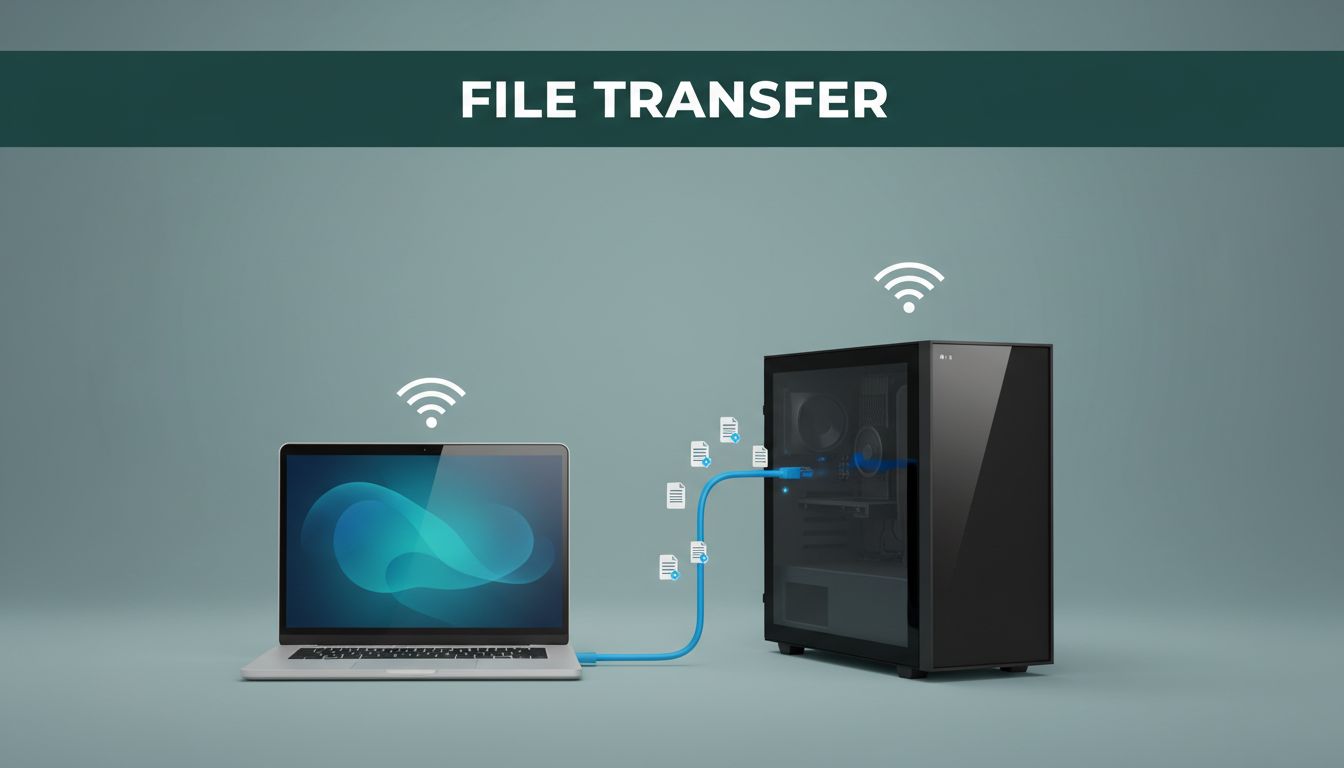
Imagine sending a huge video file from your work laptop to your home desktop in minutes, without cloud lag or data caps. When you move files between two computers on the same network, you get faster transfers, better privacy, and no extra cost. On a Gigabit Ethernet setup, you can see speeds up to about 125MB/s, and even Wi-Fi 6 or 7 can move large files quickly.
The annoying part is when you only have USB drives or online tools that either slow things down or require uploads. Local network transfer keeps everything on your local Wi-Fi or wired connection, so your files don’t leave your home network. Plus, you can use built-in options on both Windows and Mac, which makes the process less messy.
In the sections ahead, you’ll pick from the best methods for your setup, including SMB sharing for cross-platform folders, a simple HTTP server for easy downloads, quick wireless options like Nearby Share or Quick Share (updated with better support in 2026), and direct Ethernet wiring for the most stable speed. Ready to pick the perfect method?
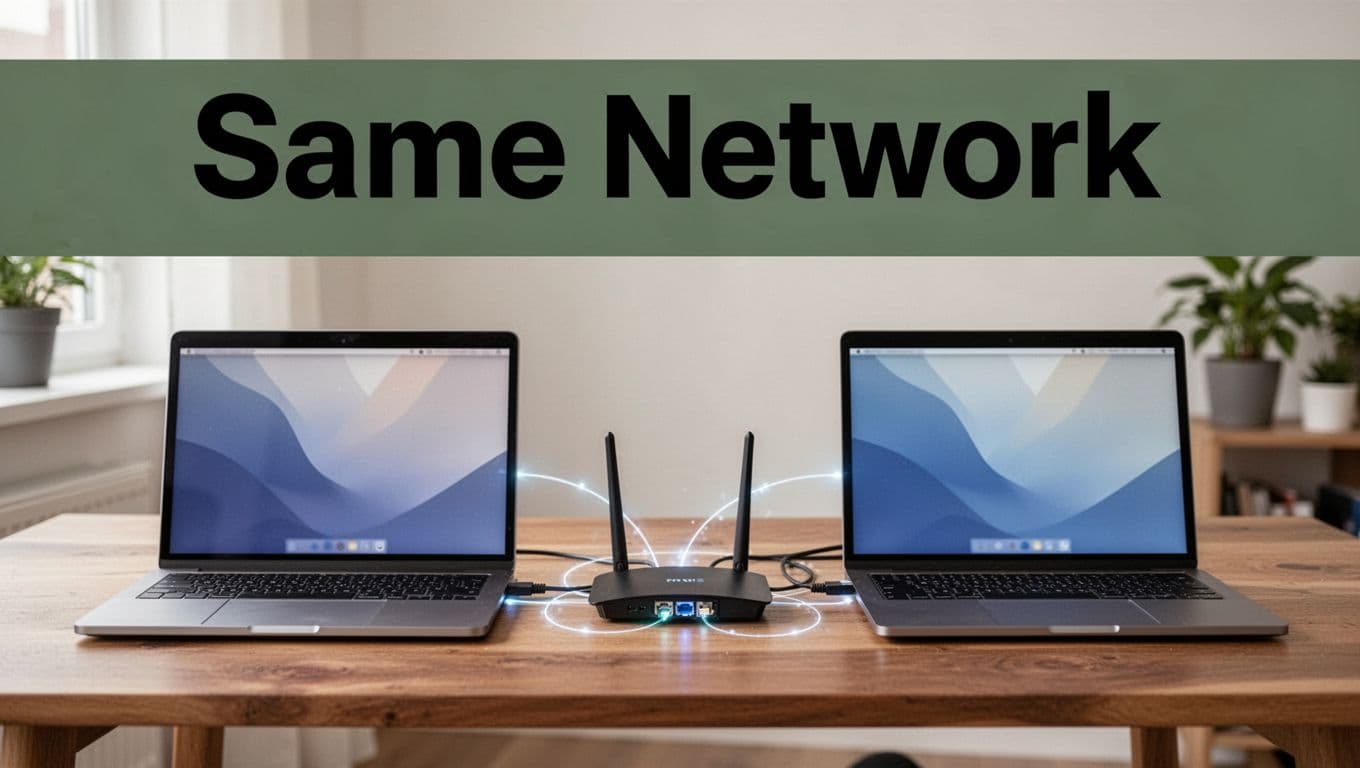
Step 1: Make Sure Both Computers Are Connected to the Same Network
Before you touch SMB, HTTP, or any file sharing screen, check the boring stuff first. This step fixes the bulk of “it won’t connect” problems. Think of it like trying to talk through a wall, no matter how loud you speak.
Also, here’s the quick truth: No IP? No sharing. So we’re going to confirm both computers can actually see each other on the same local network.
Quick Checks for Windows Users
Start on Windows, because Windows hides a few settings that matter more than you’d expect. First, grab both computers and make sure they’re on the same network name, then verify the IPv4 address range.
Check your IPv4 address (Wi-Fi or Ethernet)
On each Windows computer:
- Open Command Prompt
- Run
ipconfig - Find IPv4 Address under Wi-Fi (wireless) or Ethernet (wired)
- Note the IPv4 number
You’re looking for a match like 192.168.1.x on both computers. If one is 192.168.0.x and the other is 192.168.1.x, they’re usually not on the same local network segment.
Confirm the network profile is Private
Next, make sure Windows allows sharing on that network:
- Open Settings
- Go to Network & Internet
- Select Status
- Choose Sharing options
- Set the network profile to Private
Why this matters: Windows uses that profile to decide what it should allow for discovery and sharing. If it’s set to Public, file sharing often gets blocked even when everything else looks correct.
Make the “can you reach me?” test
Then do a simple reachability check. On the Windows computer, ping the other computer’s IP.
ping 192.168.1.50
If you get replies, the network path works. If you get “Request timed out,” you likely have a firewall issue or the computers are on different networks.
Optional but smart: restart your router if things start weird
If both PCs look correct and ping still fails, power-cycle the router for 10 to 20 seconds. Afterward, reconnect both devices to the Wi-Fi and re-check IP addresses. It’s a quick reset, and it often clears stale network sessions.
For deeper troubleshooting and “who’s on my network” ideas, see how to scan for IP addresses on a network.
Finding IPs on Mac and Linux
Mac and Linux are straightforward once you know where to look. Your job is the same as on Windows: find the IPv4 address and confirm both machines share the same starting numbers.
Mac: confirm your TCP/IP settings
On a Mac, start with:
- System Settings (or System Preferences)
- Network
- Select your active connection (Wi-Fi or Ethernet)
- Open Details
- Go to the TCP/IP tab
Look for the IPv4 Address. Like Windows, you want both computers to look like 192.168.1.x (or whatever your router uses).
Mac Terminal: quick IP grab
If you prefer the Terminal, run this and read the local IPv4:
ifconfig | grep inet
You should see inet followed by an address. Use the one tied to your active interface.
Linux: check the right interface (wlan0 or eth0)
On Linux, run:
ip addr(orifconfig)
Then scan for inet on the right interface. Most setups use:
wlan0for Wi-Fieth0for Ethernet
If you see inet 10.x.x.x on one machine and 192.168.x.x on the other, they’re not in the same local network.
Compare IP ranges to prove they match
Now compare the IPs you found. The pattern should match on both computers:
- Same first three numbers (example:
192.168.1) - Different last number is fine (example:
192.168.1.10and192.168.1.25)
This is why IPs matter. File sharing over SMB or direct HTTP assumes both computers can reach each other inside the LAN.
Quick “same network” checklist idea (for your screenshots)
When you build your own quick visual guide in the full article, you can use a small screenshot-style checklist like this:
- Both computers show IPv4 addresses
- Both IPv4s start with the same numbers (example:
192.168.1) - Ping returns responses from one to the other
- Windows network profile is Private (if any PC is Windows)
When you get this right, you prevent most “why won’t it connect” issues before they happen.
If you want another reference for finding every IP on a local network, check Paessler’s guide to viewing IP addresses.
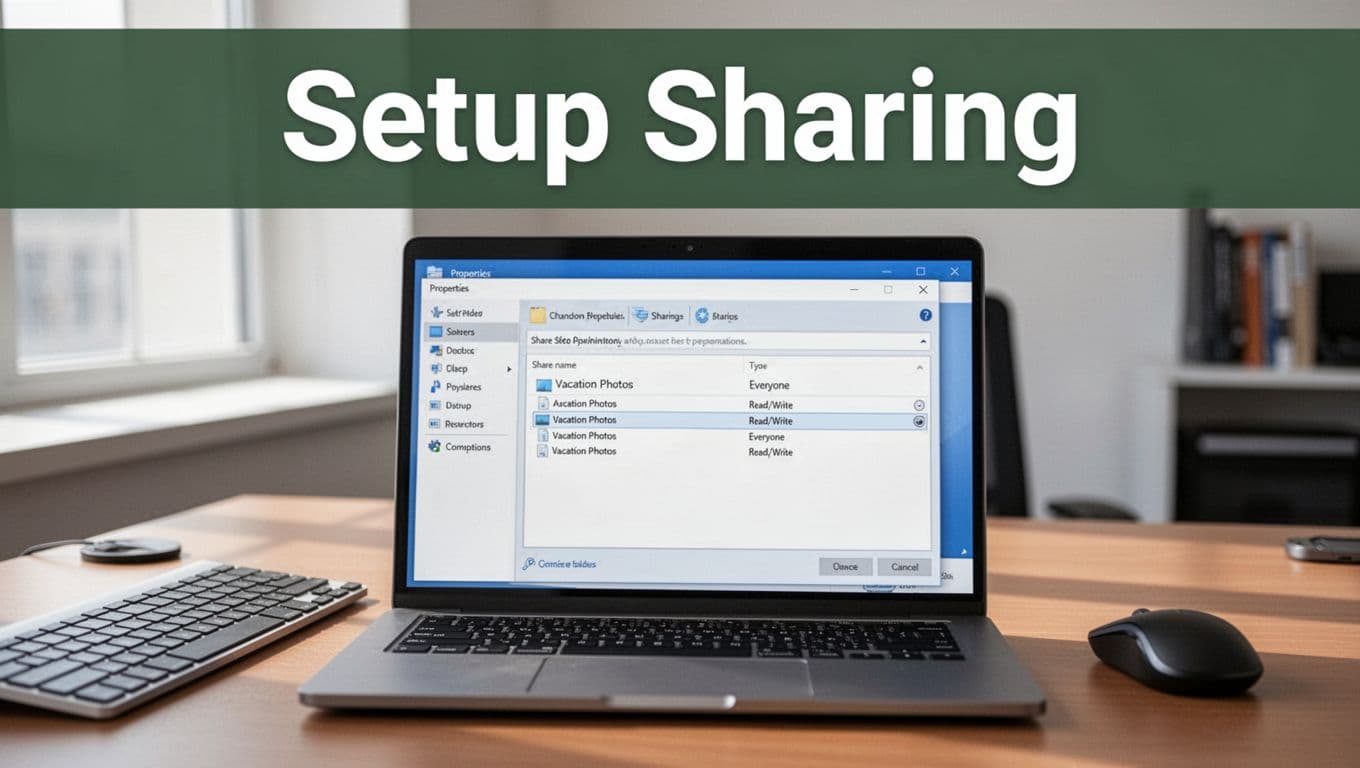
Set Up Sharing on Your Sender Computer
SMB is your best cross-platform pick because it works without extra apps. Once you share a folder on the sender machine, the receiver can browse it like a local drive. Think of SMB as a door in a hallway, open only for the rooms (folders) you allow.
Before you start, choose the exact folder you want to send. For example, share a Vacation Photos folder so the receiver only sees what they need.
Windows: enable sharing and set permissions
On the sender Windows PC, share the folder and tighten the access.
- Right-click the folder you want to share.
- Select Properties, then open the Sharing tab.
- Click Advanced Sharing.
- Check Share this folder.
- Set a share name you want to show on the network (like
Vacation Photos). - Click Permissions, then select the right access level.
- For a simple setup, use Everyone with Read/Write.
- If you have user accounts set up, prefer specific users over Everyone.
Next, adjust NTFS permissions (this part blocks many “why can’t I copy?” issues).
- In the same Properties window, open the Security tab.
- Under Group or user names, pick the same permission target.
- Grant Full control for the user you want to use for the transfer.
- Click Apply.
If you want the “what is SMB” background from Microsoft, see SMB file sharing overview on Microsoft Learn.
Also, keep your network profile safe. Make sure your sender PC is on a Private network, not Public.
Guest access? Turn it off for security. It feels convenient, but it increases risk fast.
Windows 12 (expected in 2026) should make SMB sharing feel smoother, but the setup flow above still matches how SMB works today.
macOS: turn on File Sharing, then add your folder
On the sender Mac, you enable SMB file sharing, then add the folder you want to share.
- Open System Settings.
- Go to General and then Sharing.
- Turn on File Sharing.
- Look for Options… (next to File Sharing).
- Turn on Share files and folders using SMB.
Now add the folder itself.
- Under Shared Folders, click +.
- Select the folder you want to share.
- With that folder selected, set the user permissions on the right side.
- Choose Read & Write for the user you expect the receiver to use.
Tip: use the same account name and password pattern you will use on the receiver side. If you later see “wrong password” prompts, it usually means SMB is trying a different login than you think.
If you want the official Apple steps, use set up SMB file sharing on Mac.
Linux: install Samba, edit smb.conf, and restart smbd
On Linux, you typically install Samba, then define the shared folder in smb.conf. After that, you add a Samba user password and restart the service.
First, install Samba (names vary by distro). On Ubuntu, Debian, and similar systems:
sudo apt updatesudo apt install samba
Next, edit the Samba config:
sudo nano /etc/samba/smb.conf
Add a share section at the bottom, for example:
path = /home/you/Vacation Photosbrowseable = yeswritable = yesread only = noguest ok = novalid users = yourlinuxusername
Then create or set a Samba password for the user:
sudo smbpasswd -a yourlinuxusernamesudo smbpasswd -e yourlinuxusername
Finally, restart Samba:
sudo systemctl restart smbdsudo systemctl status smbd
If transfers fail later, the usual culprits are Linux folder permissions (chown/chmod), a mismatch between valid users and your Samba username, or firewalls blocking port 445. Fixing those now saves you time later.
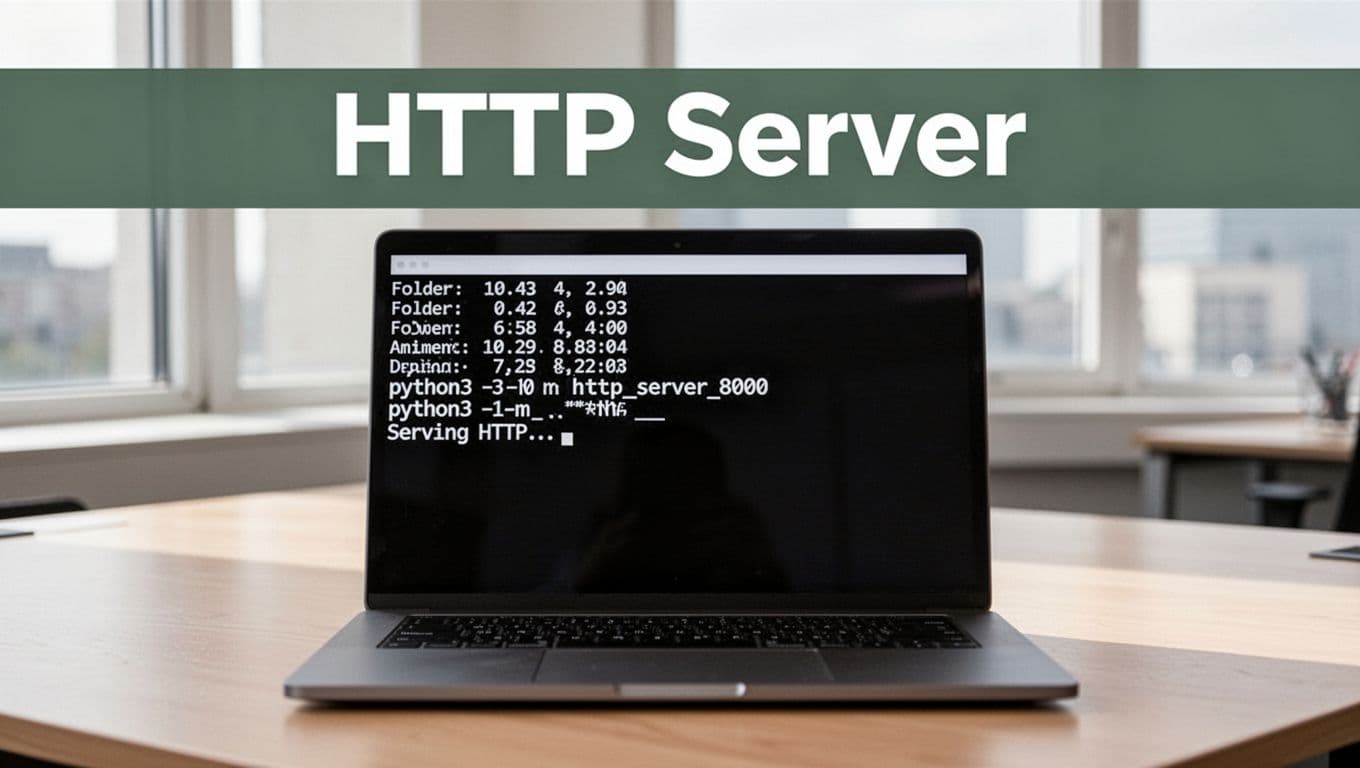
Easiest One-Time Trick: Fire Up a Built-in HTTP Server
Sometimes you do not need a full share system. You just want a quick way to send a handful of files, right now, to another computer on the same Wi-Fi. That is where a built-in HTTP server shines.
If your computer has Python, you can turn any folder into a tiny web server in seconds. Like turning your folder into a website, the receiver just opens a link and downloads. No SMB setup. No shared folder permissions. No long setup screens.
Two real limits to keep in mind. First, this works best for one-time or short transfers (think 5 to 10 files, not an ongoing file drop). Second, it is download-focused, not a full remote drive experience.
Here’s the clean flow you want for mixed setups, like Windows to macOS or Linux to Windows. After you start the server on the sender, the receiver only needs the sender’s local IP address.
Step-by-step: start the server on the sender computer
Start on the computer that has the files. Python does not need any special app, so this stays “zero-config” in practice.
- Confirm both computers are on the same network (same router, same LAN).
- Find the folder you want to share on the sender.
- Open a terminal (Command Prompt on Windows works too).
cdinto the folder that holds your files.- Run this command:
python3 -m http.server 8000
- Leave the terminal window open.
If all goes well, the terminal will show that it started serving on port 8000. Keep that window open while the receiver downloads.
If python3 fails, try python -m http.server 8000. Some systems use python instead of python3. Also note that Python is not always pre-installed on every OS by default, so install it if you do not have it.
Step-by-step: download from the receiver’s browser
Now switch to the computer that will get the files. The receiver does not need any special client. A browser is enough.
- Find the sender computer’s local IP address (IPv4).
- In the receiver browser, open:
http://SENDER_IP:8000/
- You should see a simple list of files from the folder.
- Right-click each file and choose Save (or use the browser’s download option).
- When done, tell the sender to stop the server.
That right there is the whole trick. It feels almost too simple, because it is. The server just answers web requests inside your LAN.
For a reference on the idea and command pattern, see how to create a Python HTTP server.
Firewall tip: allow port 8000 or the link will fail
If the receiver cannot load the directory page, a firewall rule may block incoming connections. Since this is HTTP on a custom port, you might need to allow it.
On the sender machine, allow inbound traffic for TCP port 8000. After that, try the browser URL again. You will know it worked when the directory listing appears.
This also helps when Windows is involved, because Windows firewall settings vary by network type. As a quick cross-check, make sure the sender network profile is Private (so sharing rules behave normally).
Why this works well (and when it does not)
This approach wins when you want speed and minimal setup. It also helps when you do not want to mess with SMB credentials or share permissions.
Here’s a quick comparison of what you get.
| Method (Same LAN) | Setup effort | What you can do | Best for |
|---|---|---|---|
Built-in Python HTTP server (http.server) | Very low | Browse and download files | Small one-time transfers |
| SMB file sharing | Medium | Copy folders like a network drive | Regular sharing |
| Direct app or cloud link | Varies | Upload, sync, or stream | When LAN access is limited |
Pros of the HTTP trick:
- No permissions fuss (you share the folder contents as files)
- Works across OSes as long as the receiver can reach
http://IP:8000/ - Fast enough for Wi-Fi transfers, especially for a small set of files
- Simple to test, because it uses a browser
Cons to expect:
- Download only, not “remote drive” browsing
- Best for short sessions, not ongoing sync
- Requires the server to stay running
- Firewall issues can stop it if port 8000 is blocked
Stop it when you finish
Once the receiver downloads everything, stop the server. Go back to the sender terminal and press Ctrl+C.
Leaving it running all day increases exposure on your network. Turn it off right after the transfer, then you stay in control.
Wireless Wins: Nearby Share, AirDrop, and Quick Share Shortcuts
When you only need to move a few small files, built-in wireless sharing beats setting up SMB. It feels like passing a note across a desk, not building a whole doorway between rooms. Most of these options work best when the phones and PCs sit close together and stay on the same Wi-Fi.
Also, keep the limits in mind. Proximity matters, and many shortcuts use size caps (often around under 1GB per transfer for the smooth experience people care about). If you need big video libraries or ongoing folder sync, you’ll usually go back to SMB.
Nearby Share for Windows and Android Fans
Nearby Share is Google’s fast “send to nearby devices” feature on supported Android versions, and it’s also useful on Windows 11 and 12. The basic idea stays the same: turn on Wi-Fi and Bluetooth, keep devices near each other (think same room), and then share from the sender.
On Windows, you’ll typically enable it in Settings, then share using the right-click option (depending on your Windows build). For the exact click path on your setup, see Nearby Sharing enable steps in Windows 11. After that, try a small file first, like a photo or one document, to confirm the receiver appears.
Android-side, Nearby Share looks and behaves like a “spotlight” for nearby devices. If the receiver never shows up, it’s usually one of these:
- Wi-Fi or Bluetooth is off
- Devices sit too far apart (walls can kill it)
- A battery saver mode limits discovery
Now, here’s the 2026 twist that helps Android users in mixed households: AirDrop-style interoperability is spreading. Quick Share can now connect with Apple devices more often, especially on newer phones. For context on the expanding compatibility, check AirDrop and Quick Share interoperability updates.
If you’re sharing with iPhones, use AirDrop rules. On the Apple side, set AirDrop to Everyone in Control Center, then accept the incoming file. Apple’s own steps are here: Use AirDrop to send nearby items. On iPhone, you can also control the AirDrop permissions in iOS settings (and it requires Wi-Fi plus Bluetooth).
For Samsung and Android phones using Quick Share, start with the built-in settings flow, then set who can discover you. Samsung’s guidance is here: How to use Quick Share on Galaxy.
Finally, if you’re in a mixed Linux setup, don’t ignore alternatives. KDE Connect and GSConnect can move files over the local network without touching SMB shares, which often feels easier with phones. When you’re under about 1GB and you want the least setup, these wireless shortcuts are the win.
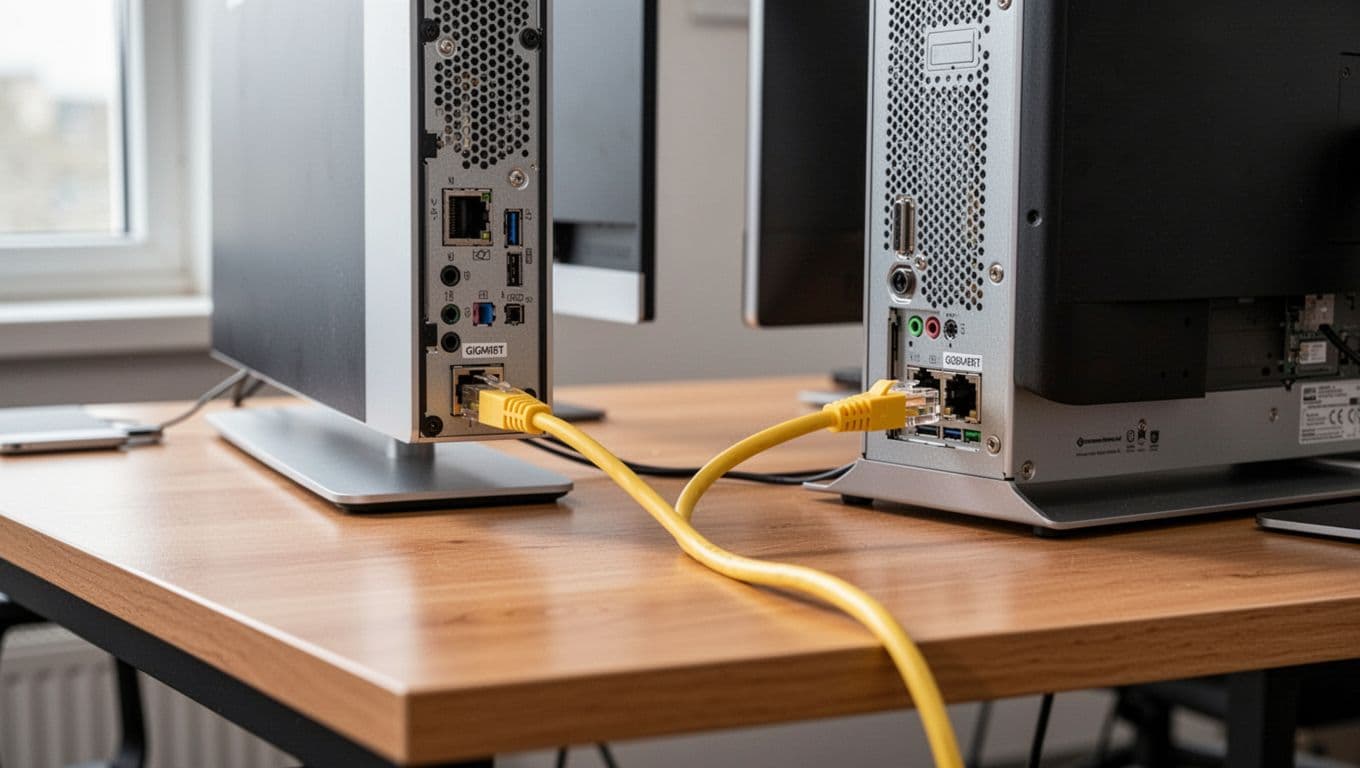
Max Out Speed by Connecting Computers Directly with Ethernet
If you want the quickest path between two PCs, skip the router. A direct Ethernet link turns your computers into neighbors in the same hallway. As a result, you avoid extra hops, fewer bottlenecks, and steadier transfer speeds.
With Gigabit Ethernet, real-world file moves commonly land around 110 to 120 MB/s. Wi-Fi can be fast, but it still has air interference and signal drops to deal with. Wired stays predictable, especially when you transfer large files like video libraries or big disk images.
What “direct Ethernet” really means (and why it beats Wi-Fi)
Direct Ethernet means you plug a single cable from Computer A to Computer B. No router in the middle, no switch required (unless your setups need one).
Modern Ethernet ports usually support auto-sensing (Auto-MDIX). That means most Ethernet cables work either way on newer hardware. Still, knowing the basics helps if you hit a rare “link won’t come up” moment. Straight-through vs crossover details are explained well in guides like Ethernet crossover cable basics on Wikipedia.
Here’s the practical reason direct wiring feels faster. The network path has fewer devices, so there’s less queueing and less waiting. Also, your disks, CPU, and file copy settings become the main limits. Once you remove the network as the bottleneck, you can actually see what your storage can do.
Do you need a crossover cable or a switch?
In most modern home and office setups, you do not need a crossover cable. Auto-MDIX typically handles the transmit/receive pair swapping automatically.
However, older NICs (network cards) or some lab gear might still care. If you run into link issues, try this order:
- Use a standard Ethernet cable and see if the link LED lights.
- If it fails, try a different cable (some are wired poorly).
- As a last step, use a crossover cable or a cheap gigabit switch.
If you want a quick wiring refresher, straight-through vs crossover Ethernet cable differences breaks down when each is used.
Use static IPs so SMB and HTTP work instantly
Direct Ethernet works best when each PC has an IP that won’t change. Static IPs remove guessing and prevent the computers from waiting on DHCP that never arrives.
Use this simple pairing on both computers:
- Computer A:
192.168.1.100 - Computer B:
192.168.1.101 - Subnet mask:
255.255.255.0 - Gateway: leave blank (or
0.0.0.0), since there is no router
Now the computers can reach each other right away. If you like exact command snippets, this reference gist can help for Linux-style IP commands: static IP commands for two PCs.
Windows: set the static IP and confirm the link
On Windows, you’ll set the IP on the Ethernet adapter.
- Open Network Connections (
ncpa.cpl) - Right-click your Ethernet adapter, choose Properties
- Select Internet Protocol Version 4 (TCP/IPv4), then click Properties
- Choose Use the following IP address
- Enter:
- IP:
192.168.1.100(or.101on the other PC) - Subnet mask:
255.255.255.0 - Default gateway: blank
- IP:
- Click OK
After that, confirm connectivity:
- In Command Prompt on Computer A, run:
ping 192.168.1.101 - You should get replies fast.
If ping fails, double-check the IPs, then verify the Ethernet cable and port link. Also confirm both PCs are on the same network profile behavior (Windows often treats direct Ethernet differently).
macOS: assign static IP to the Ethernet interface
On macOS, the path depends on your macOS version, but the idea stays the same: configure IPv4 for the Ethernet port.
- Open System Settings
- Go to Network
- Select Ethernet
- Choose Configure IPv4
- Pick Manually
- Set:
- IP:
192.168.1.100(or.101) - Subnet mask:
255.255.255.0 - Router: empty
- IP:
Then run a quick test from Terminal:
ping 192.168.1.101
Linux: set a static IPv4 address on eth0 or your NIC
Linux can use NetworkManager, or you can set it in config files. If you prefer a straightforward walkthrough, Baeldung’s static IP guide for Linux gives solid background.
The quick setup concept is:
- Assign the IP
192.168.1.100/24on one PC - Assign
192.168.1.101/24on the other PC - Make sure the interface name matches your Ethernet port (often
eth0,enpXsY, or similar)
Pick the right transfer method once Ethernet is direct
After the IPs work, you can transfer using SMB or a simple HTTP server.
SMB works best for shared folders. In contrast, HTTP shines for quick downloads, like the Python approach earlier in your article.
For your speed expectations, here’s a practical reference to keep in mind before you copy huge files.
| Connection Type | Real-World Max File Speed | What to Expect |
|---|---|---|
| Direct Gigabit Ethernet | 110-120 MB/s | Usually highest, lowest delay |
| Router-based Gigabit LAN | 90-110 MB/s | Still excellent, but extra gear |
| Wi-Fi 6 | 40-80 MB/s | Good for most homes, varies a lot |
| Wi-Fi 7 (close range) | 80-150 MB/s | Can be high, but often not steadier than wired |
Direct Ethernet wins most of the time, especially when you transfer large files. Still, your storage matters too. An SSD-to-SSD copy can finish faster than the network itself, which is what you want.
If transfers still feel slow after direct wiring, check the destination drive speed and whether you’re copying lots of tiny files. Networks and storage both hate tiny-file copies.
Firewall and Discovery Roadblocks
When file transfer fails, the blame often lands on two quiet culprits: discovery (can your devices “see” each other?) and firewall rules (are connections allowed?). Windows, in particular, can look ready to share, yet still block the exact traffic SMB and HTTP need.
Here’s the good news. Most of these fixes take 2 minutes, because you’re usually toggling the right setting, not rebuilding your network.
Windows: turn on Network Discovery and File Sharing for the right network type
Start by making sure Windows treats your LAN as a safe place. If your network profile is Public, sharing gets restricted fast. So, switch it to Private first.
Then check these settings (on the computer that hosts the files, and also on the one that tries to access them):
- Open Control Panel
- Go to Network and Internet > Network and Sharing Center
- Find your active network (Wi-Fi or Ethernet)
- Confirm it says Private
Now enable discovery and sharing:
- Network discovery: lets your PC show up to other devices
- File and printer sharing: lets other devices connect to SMB shares
If you prefer a faster method, many people use guides like turn on file sharing in Windows 11 as a checklist.
Also, remember that Windows sometimes changes these after updates. So if things worked last week and stopped today, this is usually why.
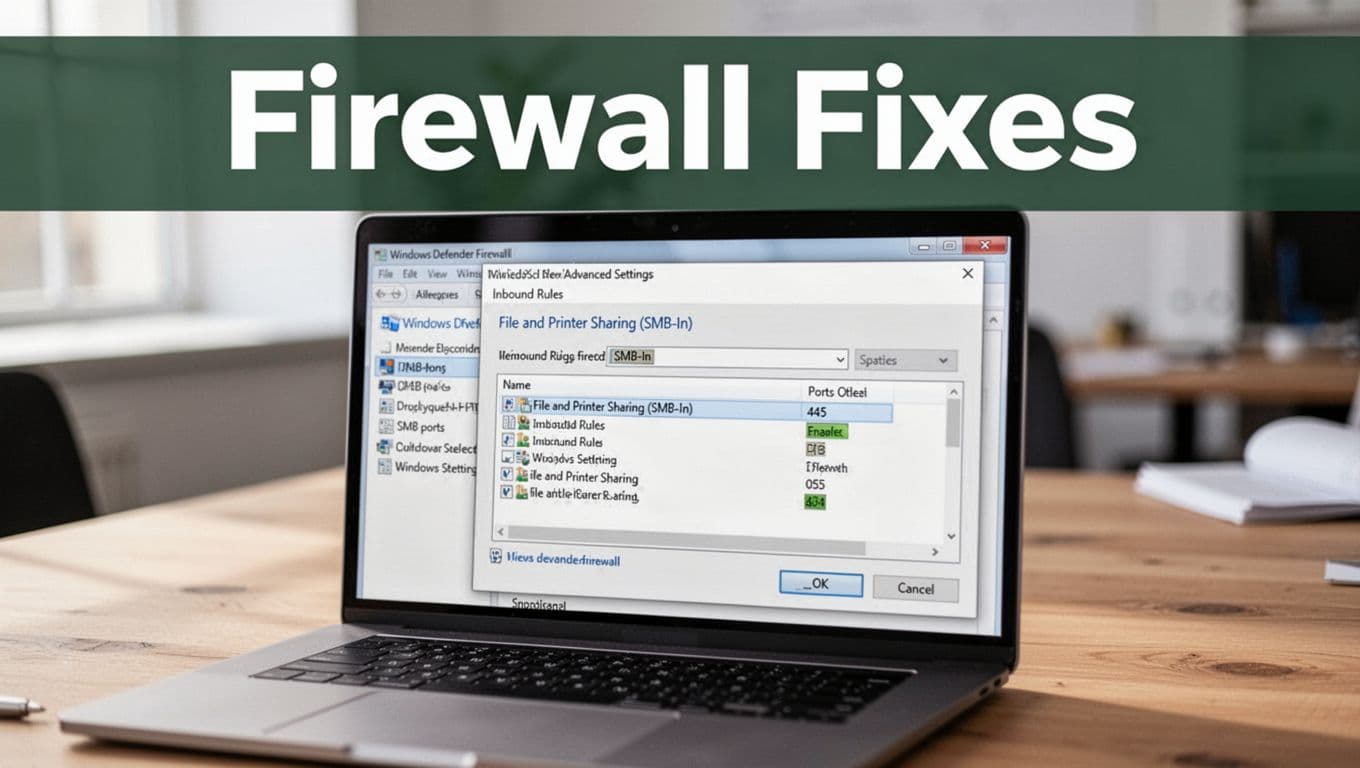
Firewall rules: allow SMB (port 445) and the right discovery traffic
After discovery is on, firewall rules can still block the connection. For SMB transfers, the key inbound port is 445. For HTTP transfers in this article, you also need your chosen port (like 8000) allowed.
Go to Windows Defender Firewall settings and confirm two items:
- File and Printer Sharing (SMB-In) is enabled for Private
- Network Discovery is enabled for Private
If you want a quick sanity check, try this sequence:
- Temporarily test by enabling both categories for Private
- Run the transfer again
- Once it works, keep it enabled and avoid leaving broad access rules on for other profiles
If you do hit a wall, Microsoft’s forum threads also show how often SMB breaks after updates. For example, see SMB file sharing issues after Windows 11 updates.
Treat this like opening the front door and then unlocking it. Discovery is the door, firewall is the lock.
Temporary “disable” tests (use them, but do it safely)
Sometimes you need a fast answer: “Is it definitely the firewall?” In that case, a temporary disable can confirm the root cause quickly. However, do it with control.
Use this approach:
- Disable firewall only on the device you are testing
- Disable for just long enough to run one copy or open one share
- Re-enable right after you confirm the fix
If turning off the firewall instantly fixes the transfer, you know you need to adjust rules, not repeat guesswork. Then turn firewall back on and enable only the exact features you need.
If you want a learning reference for the right rule concept, there are walkthroughs for port-based firewall changes like allow a port through Windows Firewall. Use them as a model, then apply the rule names for SMB and discovery in your own setup.
Fast discovery troubleshooting: the “can you see me” test
Now validate discovery in practical terms. Before copying files again, run these quick checks:
- Can you find the other computer in File Explorer under Network?
- Does
pingrespond using the other machine’s IP? - Does it fail on one direction only (sender to receiver versus receiver to sender)?
If ping works but the share still won’t open, firewall or SMB rules usually block it. If ping fails, you may have a network isolation rule, wrong network profile, or devices on different subnets.
Also check that both computers use the same Wi-Fi band and SSID behavior. Some routers split devices into guest networks or “IoT” networks, and they quietly block LAN traffic. Your transfer fails, but the router UI won’t always warn you.
Restart sequence that actually clears stale network state
After you change discovery or firewall settings, do not rely on “maybe it updated.” Instead, restart in a clean order. This matters more than people expect.
Use this sequence:
- Shut down the receiver’s copy attempt
- Restart only networking services if you prefer, but a reboot is simplest
- Reboot the computer hosting the share first
- Reboot the computer that connects next
- Retest using the IP-based method (for SMB, use the share via
IPShareName; for HTTP, usehttp://IP:8000/)
That restart flow clears caches, old SMB sessions, and firewall state. Then you can move to the next problem area, where credentials and IP matching usually show up.
Conclusion
Once you get both computers on the same LAN, moving files gets easy fast. Use SMB for everyday folder sharing, because it acts like a network drive and works well across Windows, macOS, and Linux (with Samba). For quick one-off downloads, an HTTP server is hard to beat, since the receiver only needs a browser and your local IP.
If you need the highest speed, Ethernet still wins. A direct wired link, plus stable IPs, helps SMB and HTTP run without extra delays, especially when you move large video files or disk images.
Try your first transfer with SMB today, then comment your setup and results (Windows to Mac, Mac to Linux, etc.). What’s your go-to method: SMB, HTTP, wireless share, or direct Ethernet?
If you want more, look for related guides on setting up SMB on each OS, fixing firewall rules for port 445, and speeding up copy performance when many small files slow transfers down. Your network is now a file superhighway. Happy sharing!