You plug in your phone, flash drive, or USB cable, and your computer just stares back with “device not recognized” or no pop-up at all. This computer doesn’t recognize your device problem still pops up for Windows 11 (including 26H1) and macOS Sequoia in 2026, even when the hardware is new.
Most of the time, it comes down to something simple, like a loose cable, a bad USB port, power settings, or a driver that needs a reset. As a result, you can usually fix it fast, then move on to deeper checks if it keeps happening. Next, you’ll go step-by-step from basic cable and port checks, to Windows or Mac device settings, and finally to driver and system reset options so your files and accessories show up again.
Spot the Usual Suspects: Why Your Computer Ignores Devices
When your computer refuses to recognize a phone, flash drive, or USB accessory, it helps to think like a detective. Most failures come from a short list of usual suspects, and the fastest fixes come from ruling them out in the right order.
Below, you’ll find the two biggest categories that cause USB recognition issues. First, you’ll check the physical path (cable, ports, dust, and loose fits). Then, you’ll look at the behind-the-scenes layer (drivers, power settings, and system updates). If you can narrow it down with simple swaps, you avoid wasting time on fixes that don’t match the real cause.
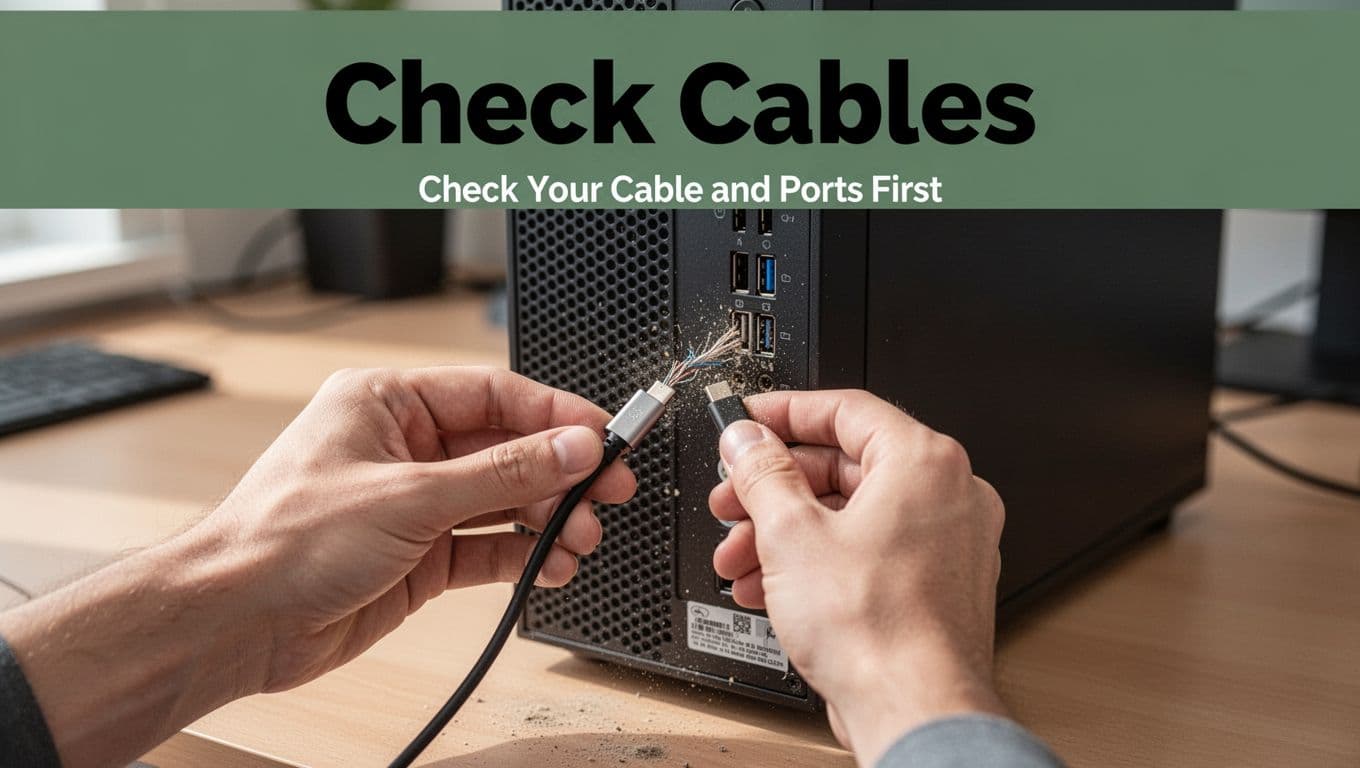
Check Your Cable and Ports First
Start with the least glamorous part, because it’s also the most common: the cable and the port. A damaged cable can act like a bad handshake, the signal never fully lands, so your device stays invisible. Likewise, dust inside a port can block contact just enough to fail under load.
Do these physical checks in a quick, practical order:
- Inspect the cable ends. Look for frays, bent metal tips, and loose strain relief. If the connector wiggles when you touch it, treat that as a red flag.
- Clean the ports carefully. Use dry air first (or a gentle burst). Avoid metal picks, they can scratch contacts and make things worse.
- Try another USB port. On desktops, use the back ports when possible. They’re often tied to the motherboard, not the case hub. Also, if you see USB 3.0 ports, test those too.
- Swap the cable or the device. Test the same cable with a different device, or test the same device with a different cable. This one step quickly tells you whether the issue follows the accessory or stays with the computer.
A simple rule of thumb: if the device works on another computer, your hardware path (your ports and cable) is the suspect on the original machine. If nothing works with that device anywhere, the device might have an internal fault.
If you want a quick reference while you work, compare your inspection to this kind of check:
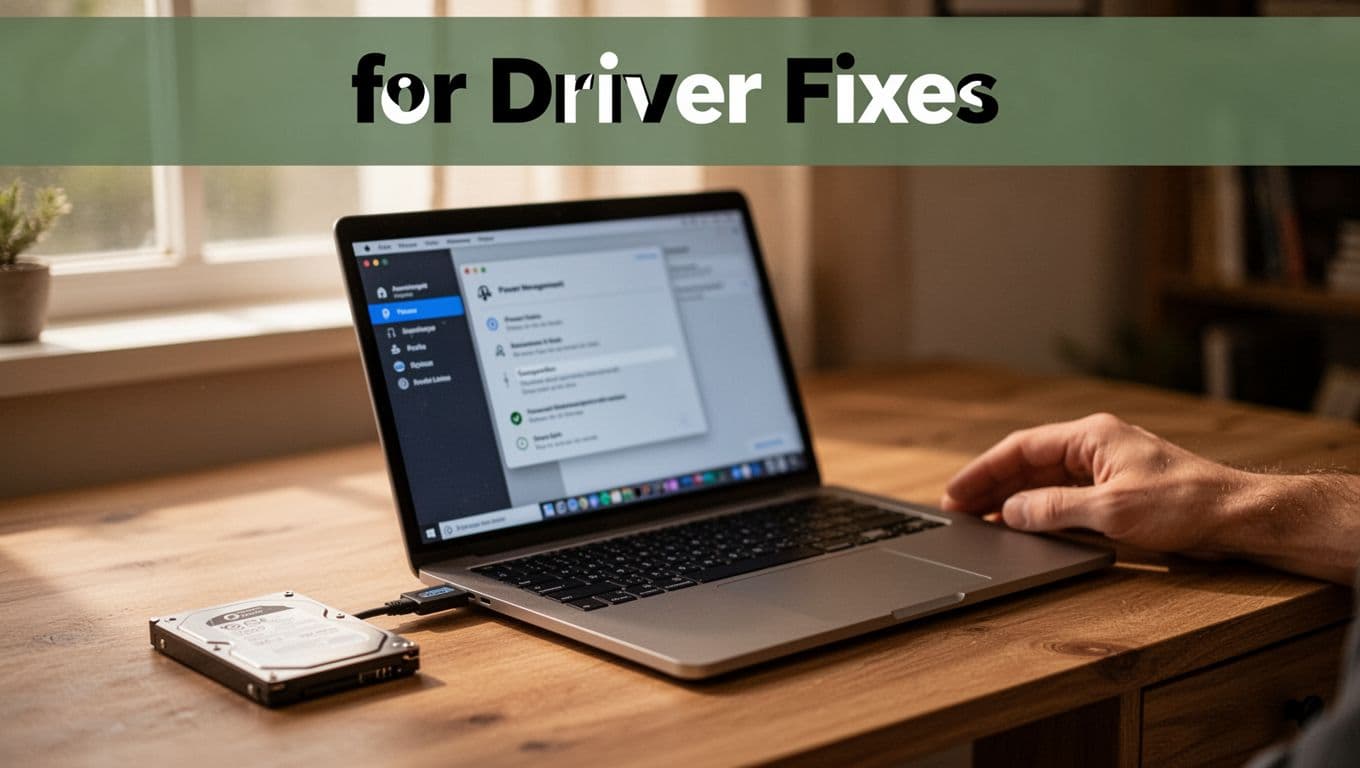
Look Out for Driver and Power Glitches
Next, focus on the “translator” layer: drivers and power control. Think of a driver like a subtitle file for hardware. The device might be speaking, but without the right translator, your computer misses the message. After crashes, updates, or sleep states, those translators can get corrupted, stuck, or mismatched.
On Windows, driver issues often show up after an update or when a USB port gets throttled. Power settings can also turn off ports to save battery, especially on laptops. One sneaky option is USB selective suspend, which can pause power to USB devices even when you still need them.
Here’s how to spot driver and power glitches without guessing:
- Check if the device appears briefly, then disappears. That pattern often points to a driver reset, power drop, or unstable connection.
- Look for changes after updates. If the problem started right after a Windows update, treat the driver stack as the first suspect.
- Test through sleep and wake. If USB recognition breaks after standby or sleep, power management is likely involved.
On macOS, drivers also matter, but the timing often changes. After macOS updates, you may see devices work inconsistently, or they may only fail in certain ports. It also helps to rule out third-party software that can filter hardware access.
Power issues also show up on both platforms when the battery is low or the system is trying to conserve energy. On Windows, that means USB power saving features. On Mac, it can mean system sleep behavior. If the device works when plugged into a hub with its own power, that’s a strong sign you’re dealing with power delivery, not the device itself.
If you want a mental picture, think about checking both the driver side and the power side:
When you’re stuck, Microsoft community threads often mirror these same patterns. For example, you can review real-world USB recognition cases like USB devices aren’t being recognized and compare what matches your symptoms.
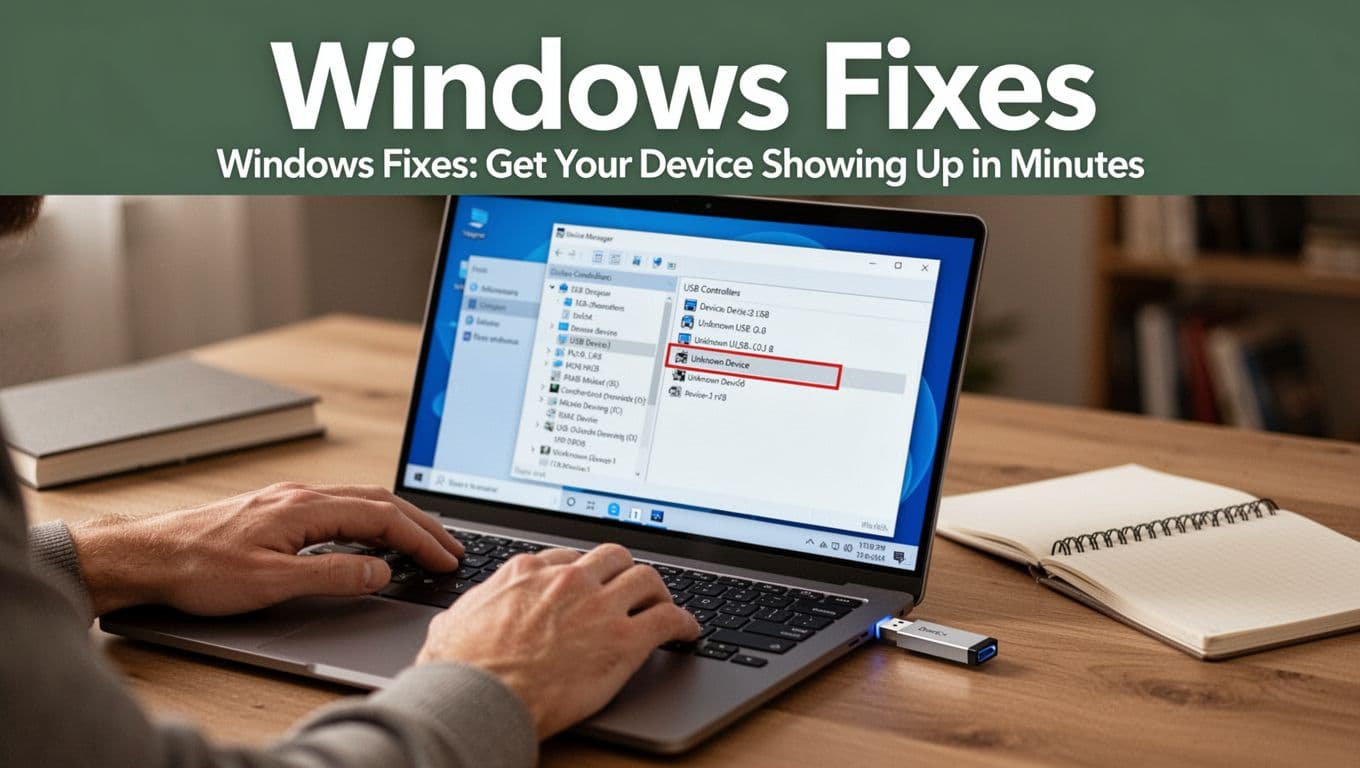
Windows Fixes: Get Your Device Showing Up in Minutes
If Windows can see your device but doesn’t show it in File Explorer, you’re close. In most cases, the fix is either a missing drive letter, a driver hiccup in Device Manager, or a power setting that turns USB off. Work through these steps in order, then replug the device after each change.
Assign a Missing Drive Letter or Update in Device Manager
Start by checking whether Windows has already assigned the storage, but just left it hidden. Then, if the drive is still missing, you’ll refresh the USB driver path.
- Press Windows + X, then open Disk Management (or press Windows + R and run
diskmgmt.msc). - Plug in your USB drive, then look at the bottom pane.
- If you see your drive listed but it has no drive letter, right-click the partition and pick Change Drive Letter and Paths.
- Click Change, then assign a letter (like
XorZ). Save the change.
- If you still do not see it in File Explorer, open Device Manager by pressing Windows + R and running
devmgmt.msc. - Expand Universal Serial Bus controllers.
- Also check USB Root Hub entries if you see them.
- Look for anything with a yellow warning.
- Right-click the problem device (or the USB controller) and try this order:
- Update driver
- If it still fails, choose Uninstall device
- After uninstalling, restart Windows (or at least unplug and replug the device)
Here’s a key behavior to use: after you uninstall, Windows often re-detects the hardware immediately after you replug. Think of it like rebooting a message thread. It gives Windows a fresh chance to “listen” properly.
If you want a real-world example of this exact “Disk Management sees it, Explorer doesn’t” pattern, this walkthrough matches the same troubleshooting path: USB drive not visible in file explorer.
Turn Off USB Power Saving Features
Sometimes Windows turns your USB device off to save power. That’s especially common on laptops, but desktops can see it too. The symptom often looks like this: the device works for a moment, then disappears, or it fails only after sleep.
- Open Device Manager (
devmgmt.msc). - Expand Universal Serial Bus controllers.
- Right-click USB Root Hub (or the hub/controller related to the device) and go to Properties.
- Open the Power Management tab.
- Uncheck Allow the computer to turn off this device to save power.
- Click OK, then unplug and replug your device.
Next, adjust the system-level setting.
- Open Power Options (search “Power Options” in the Start menu).
- Click Change advanced power settings.
- Find USB settings, then USB selective suspend setting.
- Set it to Disabled for both Plugged in and On battery.
- Apply the change, then replug your device.
That selective suspend option is basically a dimmer switch for USB power. When it’s too aggressive, the USB “light” goes out at the wrong time.
If you prefer a guide you can follow step-by-step, reference: Disable USB Selective Suspend in Windows 11.

Reset BIOS USB Settings If Needed
If Windows keeps failing across ports and cables, BIOS settings can be the culprit. This is more common on newer systems after updates, or when you use older USB devices. In BIOS, you’re telling the motherboard how to handle USB during boot and device handoff.
Before you start: the BIOS entry key depends on the brand. If Del or F2 doesn’t work, try your laptop or motherboard manual. Don’t guess for too long while rebooting.
- Restart the computer.
- Press the BIOS key during startup (commonly Del or F2).
- Find USB-related settings. Look for names like:
- Legacy USB Support
- XHCI hand-off
- Enable Legacy USB Support.
- Enable XHCI hand-off.
- Save and exit BIOS (often F10), then let Windows boot fully.
- Plug in the device again and test in a couple ports.
Why does this help? Legacy USB and XHCI hand-off affect how Windows gets control of USB controllers. When those handoffs don’t match the hardware, Windows may not enumerate the device correctly.
For extra background on XHCI hand-off, this reference helps explain what it is and why you might change it: What Is XHCI Hand-Off in BIOS.
Mac Troubleshooting: Make Your Device Appear in Finder
If your Mac sees your USB device but Finder acts like nothing plugged in, you’re not stuck. This section focuses on two places that tell the truth fast: Disk Utility (can it mount?) and System Report (is it even detected?).
Use Disk Utility and System Report
Think of Finder as the “front desk.” Disk Utility and System Report are the “back office,” where the logs and mounting status live. That’s why these two tools often cut your troubleshooting time down.
Start with Disk Utility, because it tells you whether macOS can read the drive and attach it to the system.
- Open Applications > Utilities > Disk Utility.
- In the top menu, click View and choose Show All Devices.
- Look left for your USB device. Check by size and name, even if the label looks odd.
- If you see the device, try the following:
- Click it, then look for Mount and try that first.
- If Mount is greyed out or fails, run First Aid. Select the drive entry, then click First Aid > Run.
If Disk Utility can mount it, Finder usually follows right after. Many people miss this step, because Finder stays quiet even when the drive is actually ready.
Next, use System Report to confirm what macOS detects at the hardware level.
- Click the Apple menu, then choose About This Mac.
- Click System Report.
- In the left sidebar, open Hardware, then click USB.
- Now plug the device in, then refresh the view.
- Check whether your device appears there.
Here’s the key pattern to watch:
- System Report shows it, but Disk Utility cannot mount: the drive may need repair, or macOS may have trouble with its format.
- Disk Utility can see it, but Finder doesn’t show it: Finder settings or automount behavior may be off.
- System Report does not show it: you likely have a connection or power issue, or the device is failing to enumerate.
Also, consider macOS updates. Some Tahoe releases have caused external drives to stop showing up in Finder, even when detection looks mixed. For version-specific changes, see what changed in macOS Tahoe 26.4. If you already updated, the timing can be a big clue.
One more practical move helps when you want proof: cross-test the drive. If it appears on a Windows PC but not on your Mac, the hardware is likely fine, and the problem sits in macOS mounting or Finder visibility.
Last Resorts and When to Buy New
Sometimes you do everything right, and the computer still won’t recognize the device. At that point, you need a “last resort” plan that protects your data and tells you whether it’s time to replace the hardware. Think of it like triage in an ER, you move fast, you reduce risk, and you stop chasing ghosts.

Temporarily disable security software (filter-driver conflicts)
Security tools can block USB devices when they detect risky behavior or use filter drivers to scan connections. That can make your device look “invisible,” even when it’s healthy.
Use this only as a short test:
- Pause your antivirus or endpoint protection for a few minutes (not days).
- If your tool has a USB or device control feature, turn it off for the test window.
- Replug the device right after you change the setting.
Then, retest on the same port and the same cable. If the device suddenly works, you can re-enable security and look for a safe allow-list rule.
If you want a starting point, review antivirus USB port blocking fixes.
If disabling security solves it, don’t leave it off. Instead, adjust settings so you keep protection.
Test on multiple computers, not just one “good guess”
One machine can lie. It might have a stale driver, a bad port, or a power policy that your other devices share.
So, test like this:
- Plug the device into a different USB port on the same computer.
- Then plug it into a second computer (Windows to Windows, or Windows to Mac).
- If it fails everywhere, stop blaming your cables.
This step also helps you spot intermittent hardware. If it works for a minute, then drops out, you’re likely seeing an internal connection issue.
When “replacement” is the real answer
Replace the device when basic fixes fail across ports, cables, and computers, or when the device shows physical damage. Bent connectors, heat marks, or a plastic crack are a clear stop sign.
Also replace when symptoms look like wear:
- Frequent file corruption or sudden “read-only” behavior
- Random disconnects while copying files
- It only works at first, then gets worse
For drives that may be aging, these warnings are common signs of failure, even before total death. See SSD warning signs before failure.
If you replace, buy a quality unit and keep backups. And if you prefer flash drives, WIRED’s roundups can help you compare models you can trust, like WIRED’s best USB flash drives.
What happened in your case, did it start working after a setting change, or did the device keep dropping? Share your experience in the comments, then get ready for the next step in choosing what to do next.
Conclusion
When your computer doesn’t recognize your device, start simple, then go deeper. First, check the cable and ports (a loose fit or damaged wire is the most common cause). Next, focus on drivers and power settings, because they can stop USB devices from showing up correctly after updates or sleep. After that, use the Windows or macOS-specific tools you already worked through, then move to advanced resets only if you still see the same behavior.
The strongest takeaway is this, the fix usually comes from the basics plus one or two targeted system checks. Also, keep backups on your drives, because repeated disconnects and mounting failures can lead to data loss if a device is failing.
What fixed your issue, a new cable, a USB power setting change, or a driver reset? Share it in the comments, then subscribe for more tech tips, and check out our guide to best USB hubs 2026 if you want more reliable port options.