Getting a new Android phone feels great, until you realize what you might lose. Photos, contacts, messages, even app logins can turn a quick upgrade into a weekend project.
The good news is that transfer data from Android to Android is simpler than it used to be. In March 2026, Android’s built-in transfer setup got more reliable, especially when phones have different Android versions.
This guide walks you through the main options you can use during setup or right after. You’ll see how to use Google’s built-in copy tool, how syncing keeps key data updated, when cables are faster, and how Samsung Smart Switch fits Galaxy users.
By the end, you’ll know which method to pick based on what you’re moving, and what to do when something stalls.
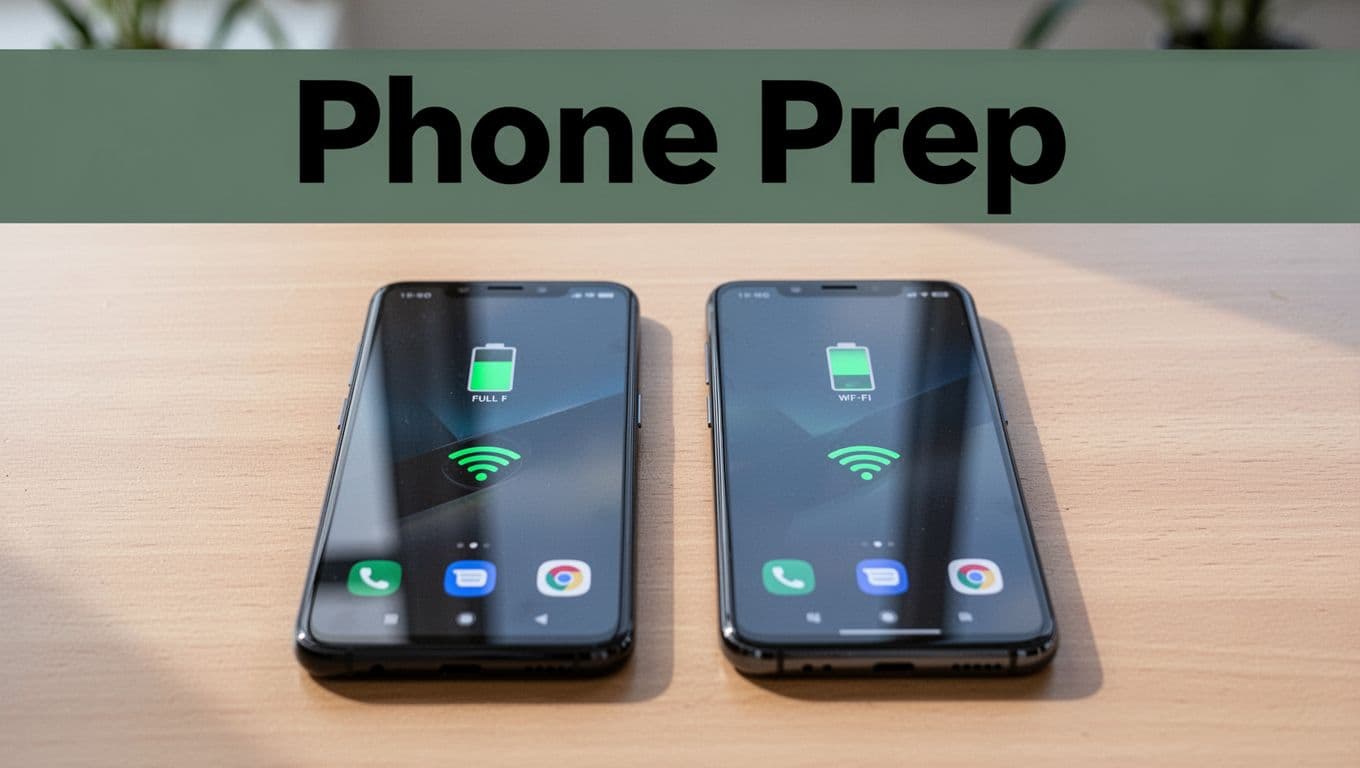
Prepare Your Old and New Phones Before Starting
Before you move a single photo, do a quick setup check on both phones. Think of it like lining up dominoes. If the first one falls wrong, everything later gets messy.
Start with the basics, then move on to the data types you care about most.
Here’s a solid prep checklist:
- Back up the old phone (at least contacts and photos)
- Charge both phones to at least 50%, ideally 100%
- Update both phones to the latest Android version available
- Connect to strong Wi-Fi (or plan to use a cable)
- Sign in with the same Google account on the new phone
- Free space on the new phone, so the transfer can install apps
Once you’re ready, list what you want to move. Most people care about:
- Contacts and call history
- Photos and videos
- Messages (SMS, MMS, and some app chats)
- Apps and app data
- Calendar entries
- Music and downloads
Also check one small but common thing: if you use a work or school Google account, some apps restrict transfers. That doesn’t mean it won’t work. It just means you may need extra steps later.
When both devices are updated, signed in, charged, and connected, transfers usually go smoothly. Then you only need to worry about the method you choose.
Use Google’s Built-in Tool to Copy Almost Everything During Setup
If you want the closest thing to a full “clone,” use Google’s built-in setup transfer. It works during new phone setup and can move a lot of common data in one go.
In March 2026, this transfer got more stable. Google fixed connection problems that could cause stalls or incomplete copies.
This method also has a big advantage: it’s the same process on most Android brands. You won’t need a special app.
For official steps, see Copy apps & data from an Android to a new Android device.
Wireless steps (default during setup)
- Turn on the new phone and follow the setup prompts.
- When you see Copy apps & data, choose the option to restore.
- Select Restore from the cloud (or similar wording).
- Sign in with the same Google account you used on the old phone.
- Pick the latest backup and choose what you want to copy.
- Wait until the process completes, then finish setup on the new phone.
Most phones show an on-screen progress view. You might see apps install, then settings appear.
What you’ll usually get
In most cases, Google’s tool can copy or restore items like:
- Apps
- Contacts
- Messages (depending on what was backed up)
- Photos and videos (often via Google Photos)
- Calendar events
- Music files (when backed up or available)
Pros and cons (so you can decide fast)
Pros
- Free and built into setup
- Works on many Android brands
- Reinstalls apps and restores settings
Cons
- Needs a solid internet connection
- Very large video libraries can take longer over Wi-Fi
If you’re transferring a full phone, this is usually your best first choice.
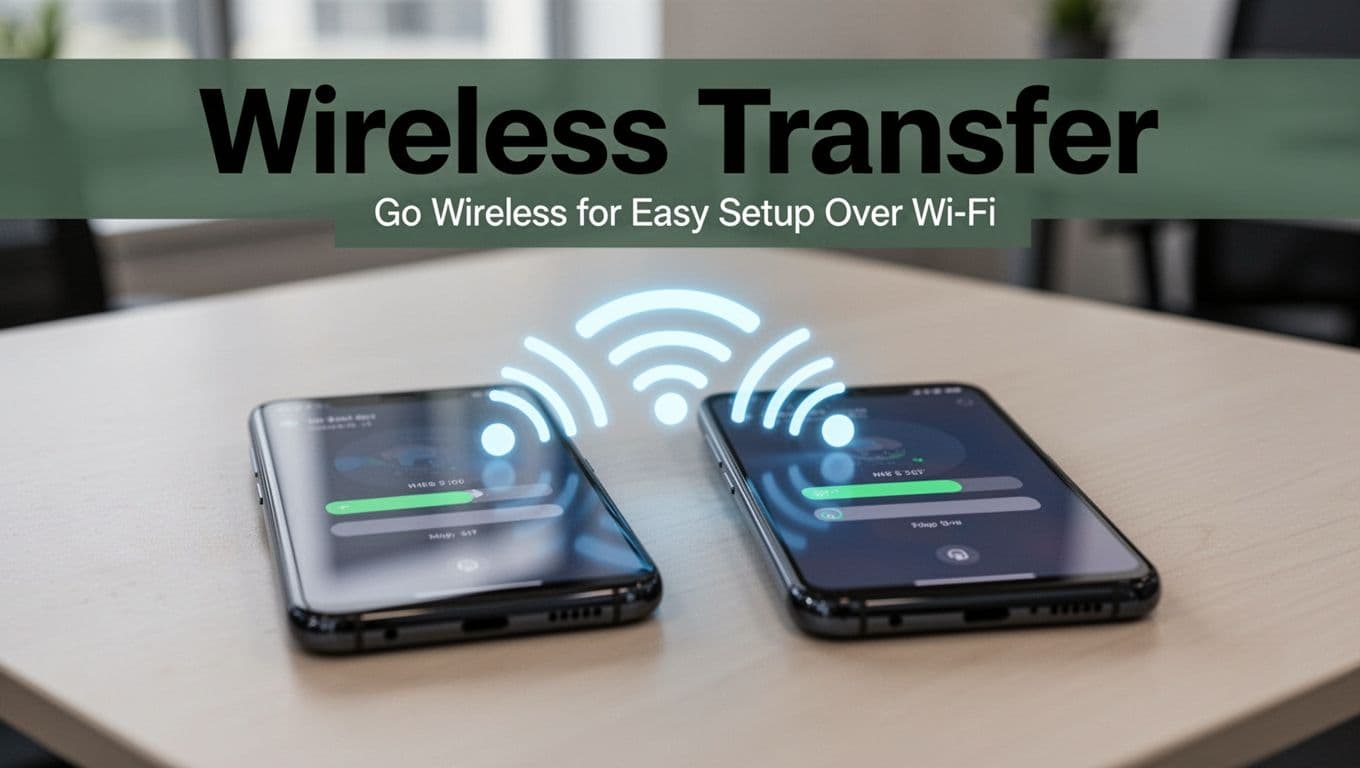
Go Wireless for Easy Setup Over Wi-Fi
Wireless setup is convenient, and for many people it’s fast enough. Still, you should treat Wi-Fi like it matters, because it does.
Here’s how to make wireless transfers less likely to stall.
- Put both phones on the same Wi-Fi network, if possible.
- Turn off Battery Saver on both devices.
- Keep phones close together (within a few feet).
- Don’t open apps or switch networks mid-transfer.
Time varies, based on how much you’re moving and your Wi-Fi speed. If you see it hanging for a long time, switch to the cable method later.
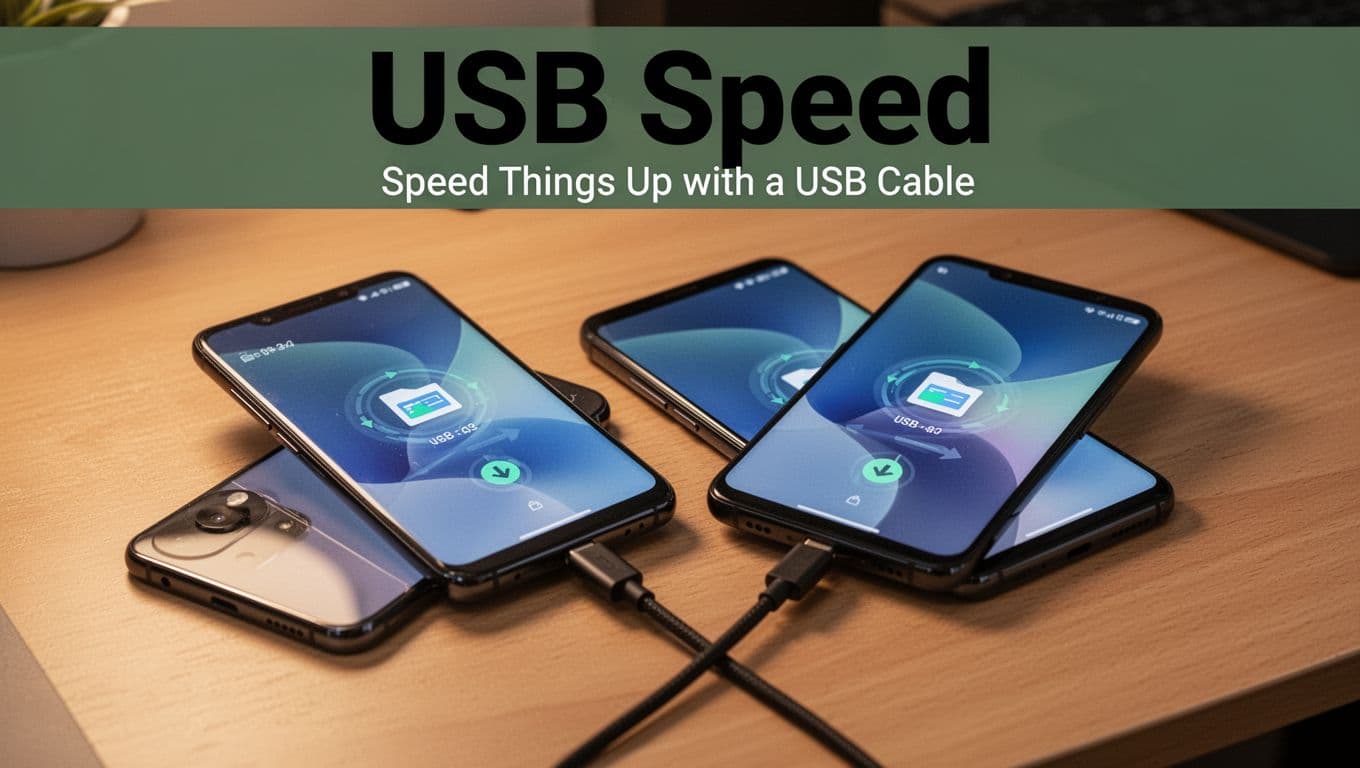
Speed Things Up with a USB Cable
A USB cable can be faster for large files, especially videos. It also reduces your risk of transfer failure due to weak Wi-Fi.
If your phones support it, use a USB-C to USB-C cable (or the right adapter). Then follow the on-screen setup prompts.
- Start setup on the new phone.
- Choose the cable option when you get the transfer prompt.
- Connect the cable while both phones are powered on.
- Wait for the setup screen to recognize the old device.
- Select the data you want to copy, then let it run.
If you get an error like “device not recognized,” don’t panic. Try these quick fixes:
- Use a known data-capable cable (some cables charge only)
- Unplug, restart both phones, then connect again
- Plug into a different USB port on a computer, if you’re using one
- Keep the screen awake so Android doesn’t sleep the transfer
Cable transfers are great when your library is huge. They’re also useful if your Wi-Fi isn’t dependable.
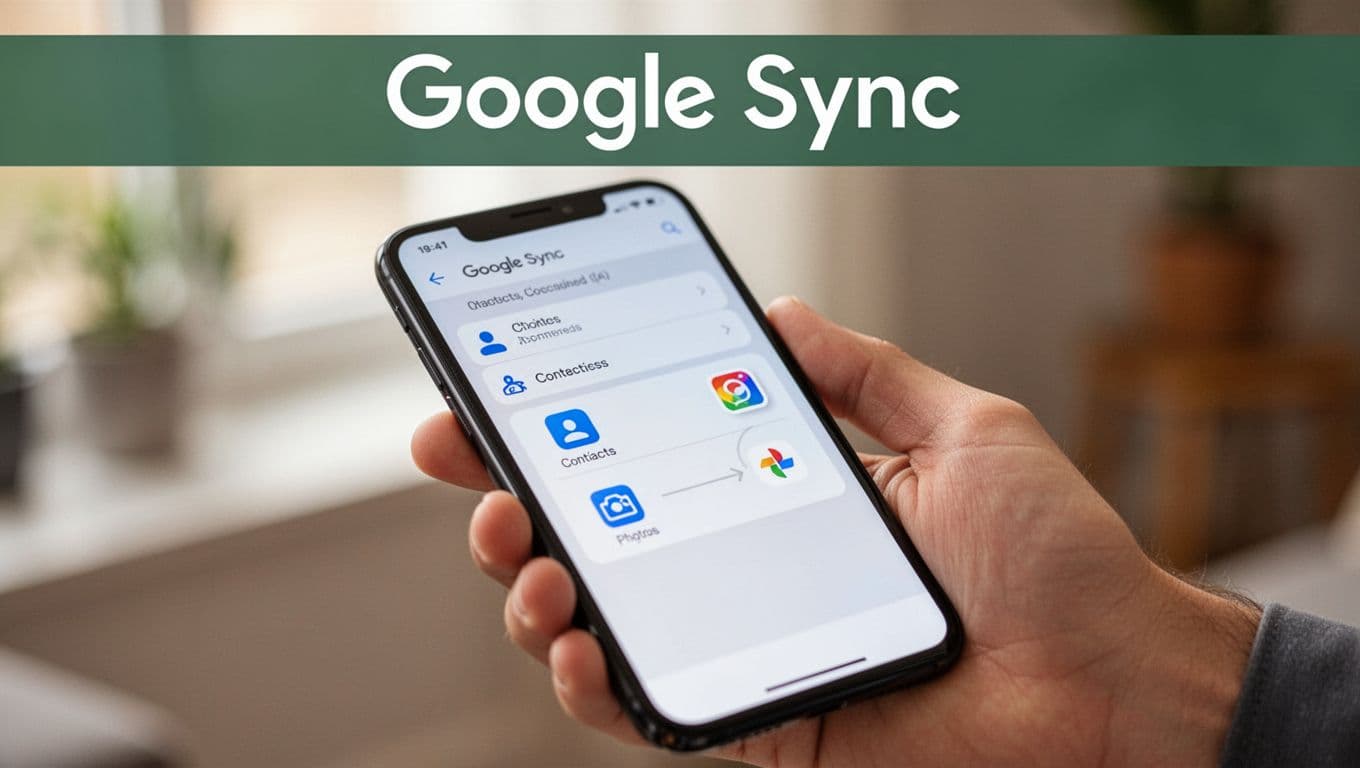
Sync Contacts, Photos, and More Automatically with Your Google Account
Not everything needs a full transfer. If you primarily want your day-to-day data, syncing can work like a safety net.
With Google account sync, your contacts and some app data update across devices once you sign in. Photos can also stay current through Google Photos.
The idea is simple: your old phone uploads changes to your Google account, then your new phone pulls them down.
What to set up on the old phone
On the old phone, confirm these settings:
- Contacts sync is turned on
- Calendar sync is turned on (if you use it)
- Photos backup is enabled (if you want your library saved to the cloud)
For contacts, Google explains the basics here: Sync Google Contacts with your mobile device or computer.
Sign in on the new phone
Next, sign in with the same Google account during setup (or in Settings). Then check that sync is enabled.
Most of the time, your new phone updates automatically. If you’re impatient, you can force sync.
What usually syncs (and what doesn’t)
Here’s a quick look at what syncing covers best.
| Data type | How it syncs | What to double-check |
|---|---|---|
| Contacts | Syncs to your Google account | Contacts sync is ON for the right account |
| Calendar | Syncs to Google Calendar | You signed into the same account |
| Photos | Often via Google Photos backup | Backup is set up before you switch phones |
| Messages | Sometimes via Google backup | Some apps use their own backup rules |
| App settings | Depends on the app | Many apps rely on their own restore steps |
If you mainly need your essentials, sync can save you time. For a full “everything” move, combine sync with Google’s built-in transfer.
Transfer Big Files Fast Using Cables or PC
Some files don’t care about your Google account. Large video folders, raw downloads, and music stored locally can need a direct move.
That’s where cables and a computer help. You can treat the process like moving boxes from one room to another, quickly and offline.
Option 1: Transfer to a PC, then to the new phone
- Plug the old phone into your computer.
- Switch to File transfer mode if prompted.
- Copy the big folders you want to your computer storage.
- Unplug the old phone.
- Plug in the new phone.
- Copy those folders onto the new phone.
This works well for videos, music, and any downloads you saved locally.
Option 2: Direct USB transfer between phones
Some Android phones support direct phone-to-phone transfer. If yours does, you may use a USB link and choose the transfer mode.
Still, this option varies by brand. If it feels flaky, use the PC method instead.
Pros
- Great for large files
- Doesn’t require internet
Cons
- Manual for contacts and apps
- You must pick folders carefully
If you’re moving mostly media, this method is often faster than waiting for cloud uploads.
Share Files Wirelessly with Apps and Built-in Tricks
Sometimes you don’t need a full backup. You just need to send a set of files.
That’s where built-in sharing and apps come in. You can share over Wi-Fi, and many methods work even without internet.
Wi-Fi Direct for quick nearby sharing
Wi-Fi Direct lets your phones talk directly. It’s often faster than Bluetooth.
In most Android phones, you’ll find it under share options, like “Nearby devices” or “Wi-Fi Direct.”
A basic flow looks like this:
- Open the file (photo, video, or document).
- Tap Share.
- Choose nearby device to send.
- Confirm the pairing on the receiving phone.
- Wait for the send to complete.
Bluetooth and NFC for small stuff
Bluetooth is handy for small transfers. It can feel slow for big videos. NFC works best when devices are close for quick pairing, but it’s not ideal for large batches.
So use Bluetooth for a few files, not a full library.
Use Quick Share (Google) for nearby transfers
If your phones support it, Quick Share is a simple way to send files nearby without cables.
Google’s official guide is here: Use Quick Share on your Android device.
Quick tips:
- Turn on Quick Share for both phones
- Select the right visibility (like “Contacts only” or “Anyone nearby”)
- Keep phones close and wait for the sender to finish
Quick Share works best when you’re transferring photos, small videos, and documents.
Third-party apps (like SHAREit or Xender)
Apps can be useful when built-in options fail. They often create a direct Wi-Fi connection.
If you go this route:
- Install the same app on both phones
- Allow permissions for storage and nearby devices
- Keep both phones awake during the transfer
Just remember, with third-party apps, you’re trusting the app to manage your files. Use a trusted app and check permissions.
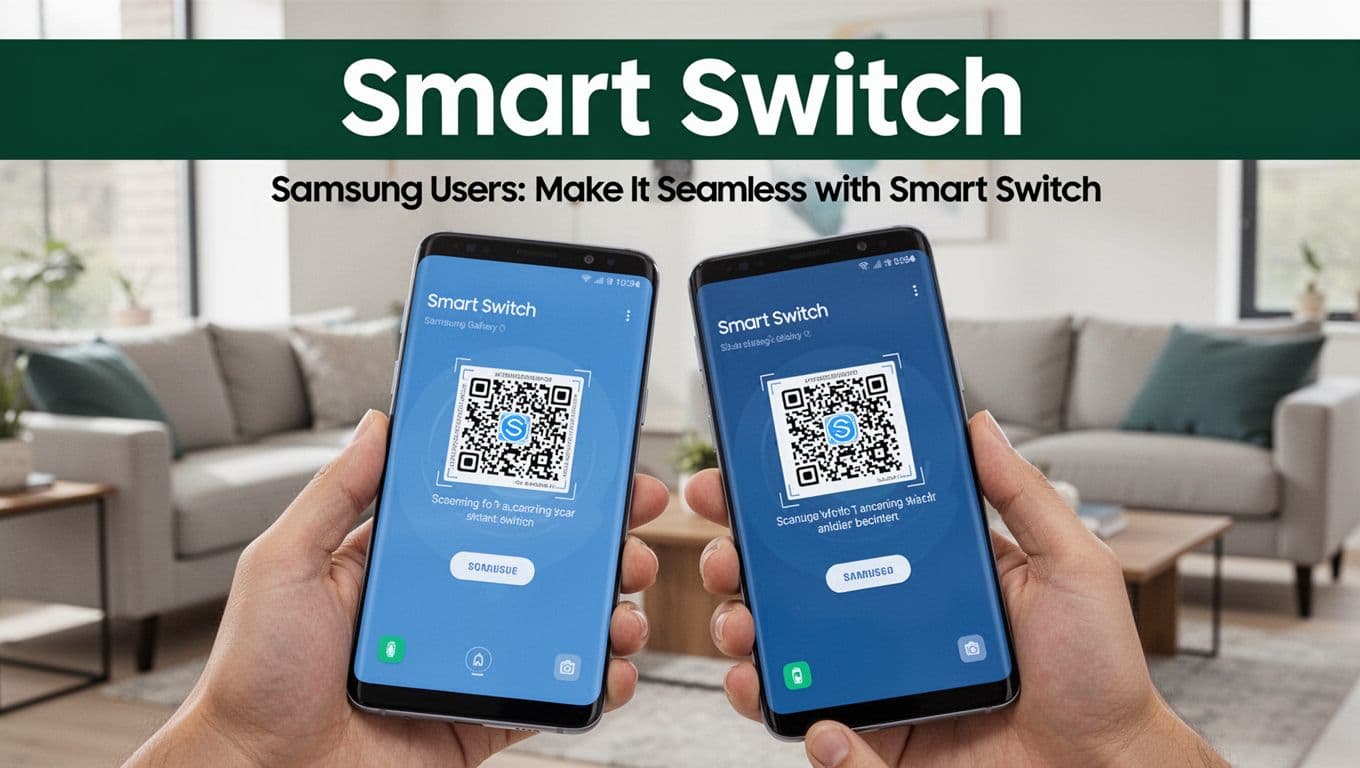
Samsung Users: Transfer Everything with Smart Switch
If both phones are Samsung Galaxy models, Smart Switch is usually the easiest path. It can move a lot of your data, including settings and home screen layout.
Samsung also supports transferring from Android to Galaxy with Smart Switch, using Wi-Fi, USB, or a computer. Samsung’s support page is here: Transfer content with Samsung Smart Switch.
Wireless or USB during setup
On your new Galaxy phone:
- Install or open Smart Switch.
- Choose Receive on the new phone.
- Choose Send on the old phone.
- Pick wireless (Wi-Fi) or use the included cable.
- Select the data categories you want.
- Wait until Smart Switch completes the copy.
Troubleshooting Smart Switch
If it doesn’t connect:
- Keep phones close during pairing
- Charge both phones
- Restart both devices
- Update Smart Switch in the Galaxy Store or Play Store
In many cases, Smart Switch performs best in Samsung-to-Samsung setups. If one phone is a non-Samsung model, you can still use it. It might just require a few more tries depending on compatibility.
Troubleshoot When Transfers Go Wrong
Even with the best method, transfers sometimes stall. Most issues come down to power, Wi-Fi strength, permissions, or sync settings.
So when something feels off, start simple and narrow the cause.
Quick fixes that solve most problems
Try these in order:
- Turn off Battery Saver (on both phones)
- Keep both phones unlocked during transfer
- Stay on the same Wi-Fi network
- Restart both devices
- Update Android and restart again
- Use a different USB cable (if going wired)
If the issue is USB related, you also want to check transfer mode. When you plug in, some Android phones ask whether it should transfer files or charge only.
If Google’s copy tool stalls
If Google’s built-in transfer hangs, the usual fix is to improve the connection. Use strong Wi-Fi or switch to cable if you can.
Also, don’t switch accounts mid-process. Sign in with the same Google account you used on the old phone.
For extra items that don’t fit the transfer plan, use Google Drive for documents and other files. Then add them to the new phone after setup.
Match the tool to your data
This table helps you pick faster when time matters.
| What you’re moving | Best method | Why it fits |
|---|---|---|
| Most phone setup (apps, settings, key data) | Google built-in transfer during setup | One setup flow does a lot |
| Contacts, calendar, and some cloud items | Google account sync | Works over time, not one shot |
| Huge videos and local media folders | USB cable or PC copy | Fast and offline |
| A few photos or documents nearby | Quick Share, Wi-Fi Direct | No computer needed |
| Samsung-to-Samsung full migration | Smart Switch | Designed for Galaxy setups |
The main goal is to avoid redoing work. If you need to stop, choose a different method next rather than forcing the same path again.
Conclusion
When you need to transfer data from Android to Android, start with the method that matches your goal. Use Google’s built-in copy during setup for the biggest “move everything” experience, especially since it’s more stable in 2026.
If you want the essentials to update automatically, turn on Google account sync and let it run in the background. For large video and media folders, cables and a PC usually save time.
Got a Galaxy upgrade on your hands? Smart Switch can move a lot with fewer steps. Then when you run into trouble, check power, Wi-Fi, and transfer permissions first.
What’s the one thing you’re most worried about losing during your next upgrade, photos, contacts, or message history?