Getting a new iPhone feels exciting, but that “wait, where do my photos go?” worry can hit fast. You may also wonder about contacts, messages, and all the little app details you don’t want to redo.
The good news is that Apple’s Move to iOS app is built for this exact switch. It can transfer key data from your Android phone to your new iPhone during setup, using either Wi‑Fi or a direct cable.
In most cases, you can move contacts, photos, videos, message history, WhatsApp chats, calendars, bookmarks, and more. Then you just finish setting up your iPhone without spending hours manually copying files.
Before you start, you’ll want to check one thing: your devices’ requirements. You’ll need iOS 16 or later on the iPhone, and Android 4.0 or higher on the Android side (newer versions help too). Also, keep your iPhone plugged in and ready with enough storage.
Now let’s make sure you’re set up to transfer without stress.
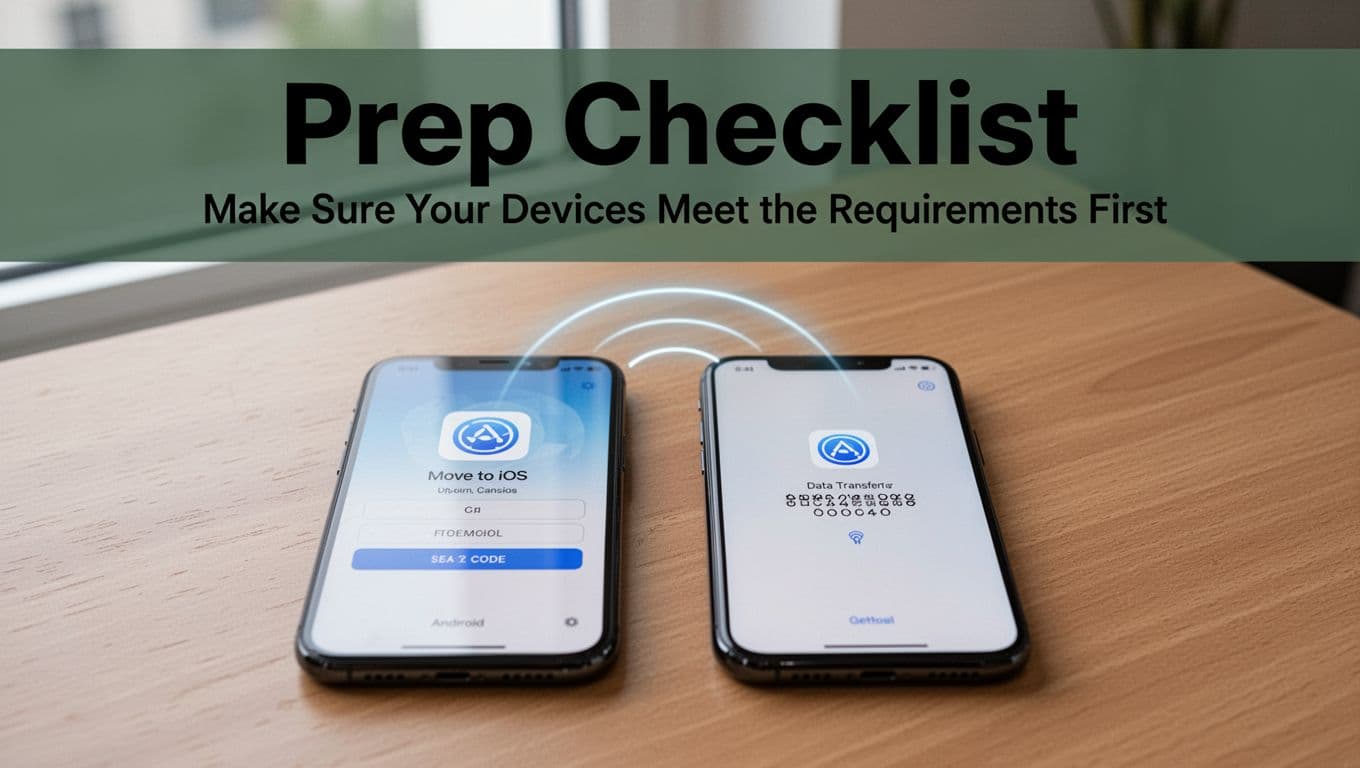
Make Sure Your Devices Meet the Requirements First
To avoid a half-finished transfer, start with the basics. Apple’s current Move to iOS support matches modern iPhones running iOS 26 (like iPhone 16 and iPhone 17 series), and iOS 26 runs on iPhone 11 and later.
On the Android side, Move to iOS has historically worked with Android 4.0+, but updates and app behavior can vary by device. If your Android is old, expect more hiccups.
Here’s what you should confirm before you begin:
- iPhone: iOS 16 or later (most new iPhones support iOS 26)
- Android: Android 4.0+ (newer is usually smoother)
- Wi‑Fi: on for both devices (wireless transfer uses a temporary network)
- Bluetooth: on for the transfer to find the iPhone
- Power: both phones plugged in during the transfer
- Storage: enough free space on the iPhone (think about cloud downloads too)
- External microSD (if you use one): make sure what you’re moving is accessible
Also note what you can’t move with Move to iOS: paid apps, some app-specific data, certain health data, Bluetooth pairings, and locked notes.
If you’ve never moved phones before, it helps to back up your Android first. That way, you can recover anything Move to iOS skips.
Android Side Prep Checklist
Do this now, before you turn your iPhone on “setup mode.”
First, download Move to iOS from Google Play (or use an alternative download method if you can’t access Play Store). Next, update the app so it runs smoothly.
Then check your settings. Move to iOS may ask for permission related to location or notifications. Approve them, or the transfer may fail.
Finally, charge your Android. If the battery drops, the transfer can pause or stop.
Quick prep items:
- Install Move to iOS (and update it)
- Turn on Wi‑Fi and keep the phone nearby
- Enable any requested permissions
- Charge Android to avoid power loss
If you run into trouble downloading the app, Apple has steps for getting Move to iOS without Google Play in its support notes: download Move to iOS when you can’t use Google Play.
iPhone Setup Basics
Move to iOS works best during iPhone setup at the Apps & Data screen. If your iPhone is already fully set up, you’ll usually need to erase it first, then start setup again.
Before you begin, make sure the iPhone has room for what’s coming. Photos and videos can be huge. Also, confirm you can sign in to your Apple ID if needed.
When the iPhone asks how to transfer data, choose the option that starts Move to iOS. Then keep both screens awake.
Here’s the mindset: treat the transfer like a phone call. Don’t wander off, lock screens constantly, or start other big downloads.
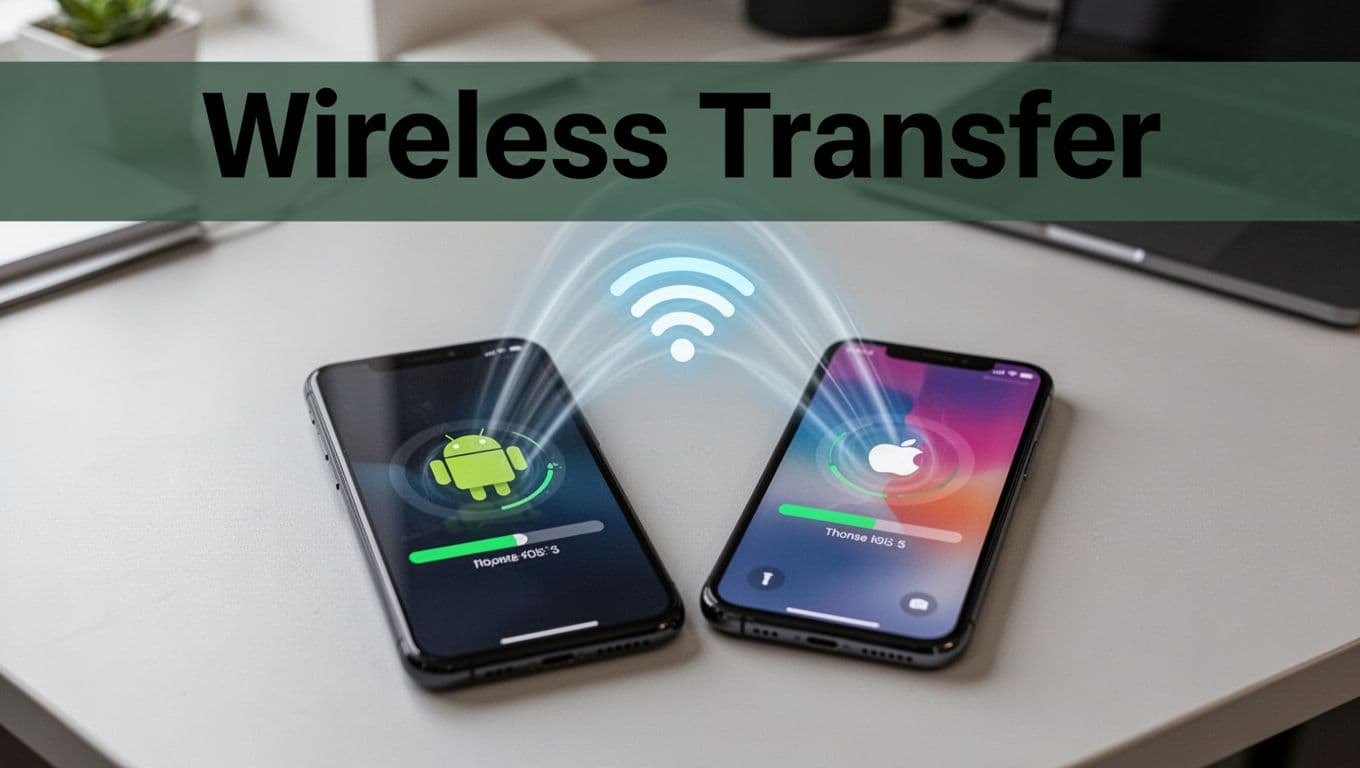
Transfer Your Data Wirelessly with Move to iOS
Wireless transfer is the most common approach. It’s also usually the easiest, because you do not need to manage cables.
If you want the official walkthrough, Apple covers the same flow here: Move from Android to iPhone or iPad.
To transfer wirelessly:
- Start new iPhone setup, then go to Apps & Data
- Choose Move Data from Android
- Open Move to iOS on your Android
- Agree to terms and tap Continue
- Enter the code shown on your iPhone
- Select what you want to transfer (contacts, photos, messages, WhatsApp, and more)
- Wait until the transfer finishes (keep both phones close)
- Set up your iPhone after the progress completes
One more thing: you’ll see warnings about signal strength. Ignore them if the transfer is still moving. Move to iOS creates a temporary Wi‑Fi network, so “weak signal” messages can still be normal.
Timing depends on your data. For big photo libraries, plan for 30+ minutes.
Keep both devices plugged in and on one another’s side of the room. Small moves can disrupt the connection.
What Happens During the Wireless Transfer
Once Android joins the iPhone’s transfer network, Move to iOS starts sending data categories. You’ll often see a loading bar or progress indicator on the iPhone.
Your selected items transfer in batches. That’s why you should wait for the final completion screen. If you stop early, you might get partial results.
Also, transfers for messages and WhatsApp chats can take longer than photos. Apps may need time to verify and map data to compatible formats.
If the transfer seems slow, don’t switch to your phone’s camera or messaging apps. That interrupts the flow and can force retries.
The bottom line: let it run. It feels slow at first, then it speeds up as batches finish.
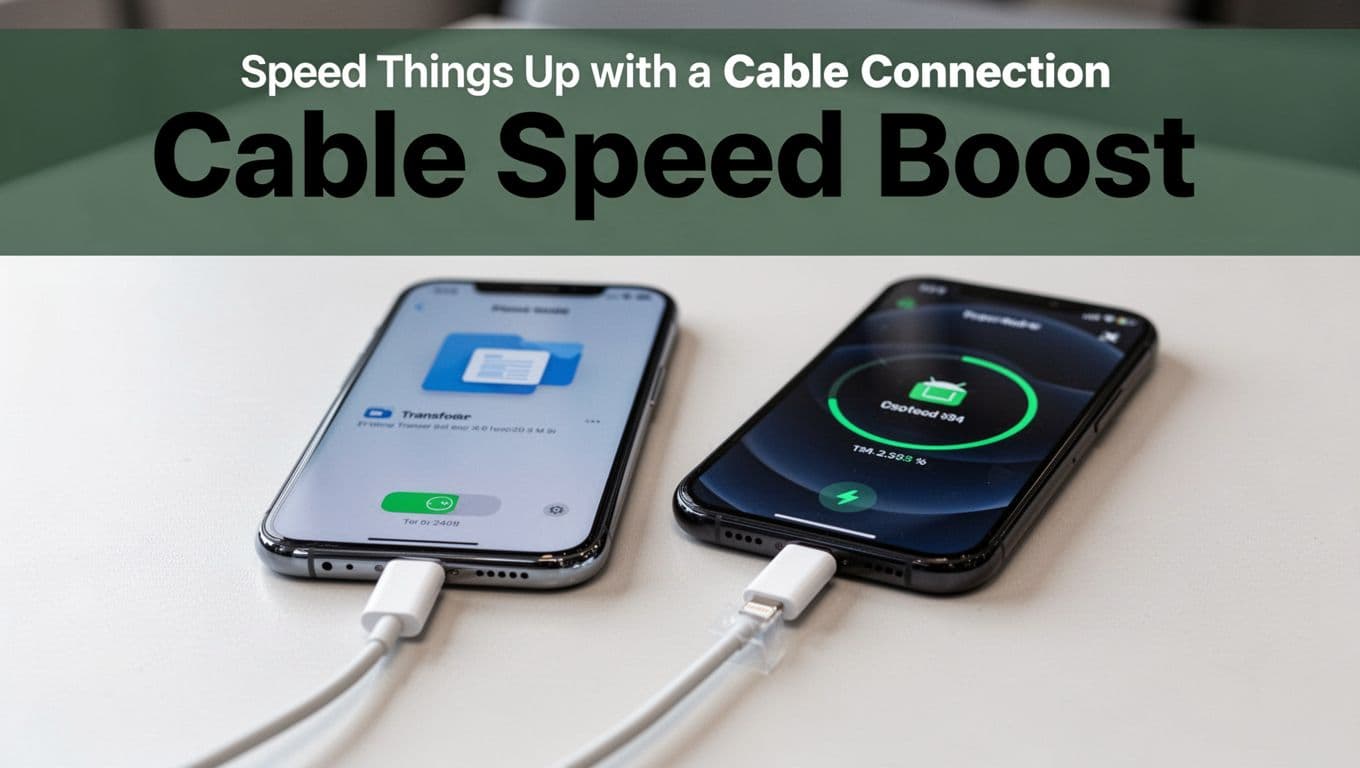
Speed Things Up with a Cable Connection
Want faster transfers, especially for large photo or video libraries? Use a cable.
Apple supports using a direct wired connection during setup. The key idea is simple: you connect devices directly for faster movement than wireless.
For the official wired approach, see: use a wired connection to transfer data.
Basic cable steps:
- Start iPhone setup at Apps & Data
- Choose Move Data from Android
- Connect Android to your iPhone using the right USB cable
- Follow prompts, then pick the data types to move
- Wait until the progress completes
For many setups, this means a USB-C to Lightning cable (if your iPhone uses Lightning) or the appropriate USB-C charging cable and adapter your devices support.
Simple Backup Plans if Move to iOS Isn’t Right
Sometimes Move to iOS isn’t a fit. Maybe your Android is too old, or setup keeps failing. In that case, you can still protect your essentials.
Below are practical alternatives.
| Option | Best for | How it works | Big limits |
|---|---|---|---|
| Google Drive backup | Contacts, some photos | Upload from Android, then sign in on iPhone | Often no messages, no WhatsApp |
| Third-party transfer apps | More control | Install an app to migrate data | Security varies, results differ |
| Manual transfer (by data type) | Photos, bookmarks, calendars | Copy key data using separate methods | More steps for you |
If you want a simple “anytime” option, Google Drive is the most common route. For deeper migration help, some third-party tools claim broad transfers, but always treat security carefully.
Sync Basics with Google Drive
If you use Google apps, you can at least move the stuff that syncs well.
Try this:
- On Android, back up items using your Google apps (and Drive if needed)
- On iPhone, sign in with the same Google account
- Turn on sync for contacts and photos where available
- Re-check what loaded after a few minutes
Be aware: this approach may not recreate message history or WhatsApp chats.
When to Pick Third-Party Tools
Pick third-party tools only if you need post-setup transfers. They’re helpful when Move to iOS can’t complete.
Still, use caution. Read reviews, check permissions, and confirm the tool is updated for newer iOS versions. If you want to compare tools, you can review “Move to iOS alternatives” coverage like: Move to iOS alternatives for Android to iPhone transfer.
Solve Transfer Hiccups Before They Ruin Your Day
Transfers can fail for boring reasons. Battery, Wi‑Fi, storage, and permissions cause most issues.
Here are common problems and fast fixes:
- No code or code won’t load: restart setup on the iPhone, then reopen Move to iOS on Android.
- Slow or failed transfer: switch to the cable method and restart both phones.
- Android app crashes: update Move to iOS, then try again.
- Cable prompts keep appearing: pick the mode that allows Android to connect for file transfer.
- Partial data transferred: confirm iPhone storage first, then check WhatsApp backup separately.
If you want an extra troubleshooting checklist, see: fix Move to iOS not working.
Most of all, test with the latest software you can. On the iPhone side, staying current with iOS 26.x releases helps.
Conclusion
If you want the cleanest switch from Android to iPhone, Move to iOS during iPhone setup is your best bet. It transfers the biggest categories like contacts, photos, videos, calendars, and more, without making you rebuild everything by hand.
Start by checking requirements, prep your Android, and keep both phones plugged in. Then let the wireless or cable transfer finish before you touch anything else.
If you run into trouble, most errors have simple fixes, and you can fall back to backups for the essentials. Millions make this move every year, and you can too.
What data type are you most nervous about losing, photos, messages, or contacts?